How To Change The Oil In Your Chamber Vacuum Sealer
The power of the oil pump in your chamber machine makes sure your unit is able to perform continuously for all of your vacuum sealer needs. To extend the life of your oil pump be sure to keep up with maintenance, performing periodic oil changes. We recommend you perform the first of these after the first 25 hours of use- a good benchmark for this is after sealing roughly 500 bags.
Follow the directions below:
Equipment:
• Phillips head screwdriver
• 14 mm wrench
• Two wood blocks (20” x 5”)
• Container to catch used oil
• Vacmaster® machine oil
• Vacmaster® oil fill bottle (This comes with your machine)
• Paper towel or shop rag
Directions:
1. With the back of the machine facing you, remove the power cord.
2. Using a Phillips head screwdriver, remove the screws in each corner of the back panel, four screws in all. Lift the panel away from the machine and set aside.
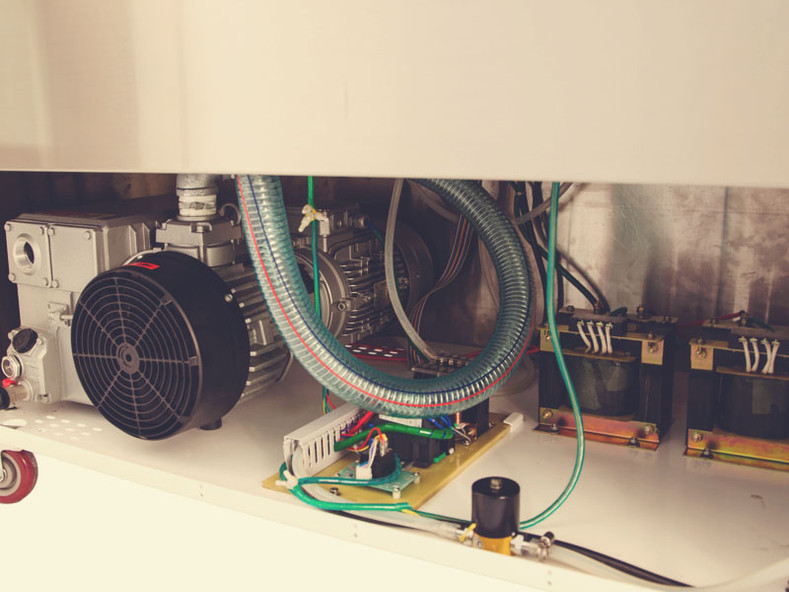
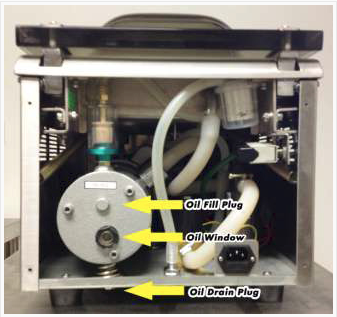
3. When viewing the internal machine parts, look on the left side and find the oil fill plug, the oil window and, below the machine, the oil drain plug.
4. Using two wood blocks that are three to five inches tall, prop your machine up on each side, going front to back, not side to side. This will allow you to insert a small container under the machine to catch the oil you will be draining from it. Position your container to catch oil under the drain plug.
5. Using a 14 mm wrench, carefully loosen and remove the drain plug and drain the oil. Use caution not to lose the rubber o-ring on the drain plug as it helps prevent oil leakage.
6. When the oil has finished draining, wipe off the oil drain hole and the plug. Replace the plug, tightening first by hand, then with the 14 mm wrench to tighten just until snug. Do not over-tighten as it will cause the rubber o-ring to break leading to oil leaks. This is the cause of almost all oil leaks reported.
7. Using the same 14 mm wrench, loosen and remove the oil fill plug and set it aside.
8. Use the oil fill bottle that comes with every VP215, and insert the spout into the oil fill hole and turn the bottle nearly upside down. While watching the oil window, begin to squeeze oil into the VP215. The machine will hold approximately 3 ounces of oil. Stop adding oil when the oil level is slightly more than half way up the window glass.
9. Replace the oil fill plug, hand tightening it first, then tightening to just snug using the 14 mm wrench. The oil change is now complete.
10. Position the rear panel back in place and hand-tighten two upper screws to hold panel in place before using the screwdriver to get all screws in place. Do not tighten snugly yet. Be sure to get the panel aligned so that the plug assembly fits correctly inside the cut-out on the back panel. When it is
positioned, tighten the four screws.
• Be sure to dispose of used oil in a manner that is safe for the environment and that complies with all local, state and federal laws.
See how it's done in the videos below ↓↓