How To Make Simple Sensory Bags At Home- Perfect For Travel And Gifting

I'm always looking for fun, inexpensive ways to entertain my children. Young children absolutely love sensory activities, and there are numerous benefits to sensory play. While my one year old is content to simply play with the sensory toys once they are made, my three and four year old's enjoy helping me make the toys.
One of my favorites to make and theirs to play with are various sensory bags. With the holiday season we have been enjoying a great deal of road trips- and a need for toys for both the road trip and the destination. The sensory bag is something my kids can play with in the car, and makes a great gift for my siblings' children.
I prefer to travel with toys that we can live without if they accidentally get left behind, and costing less than $5 each, this is one of those toys.
Ingredients:
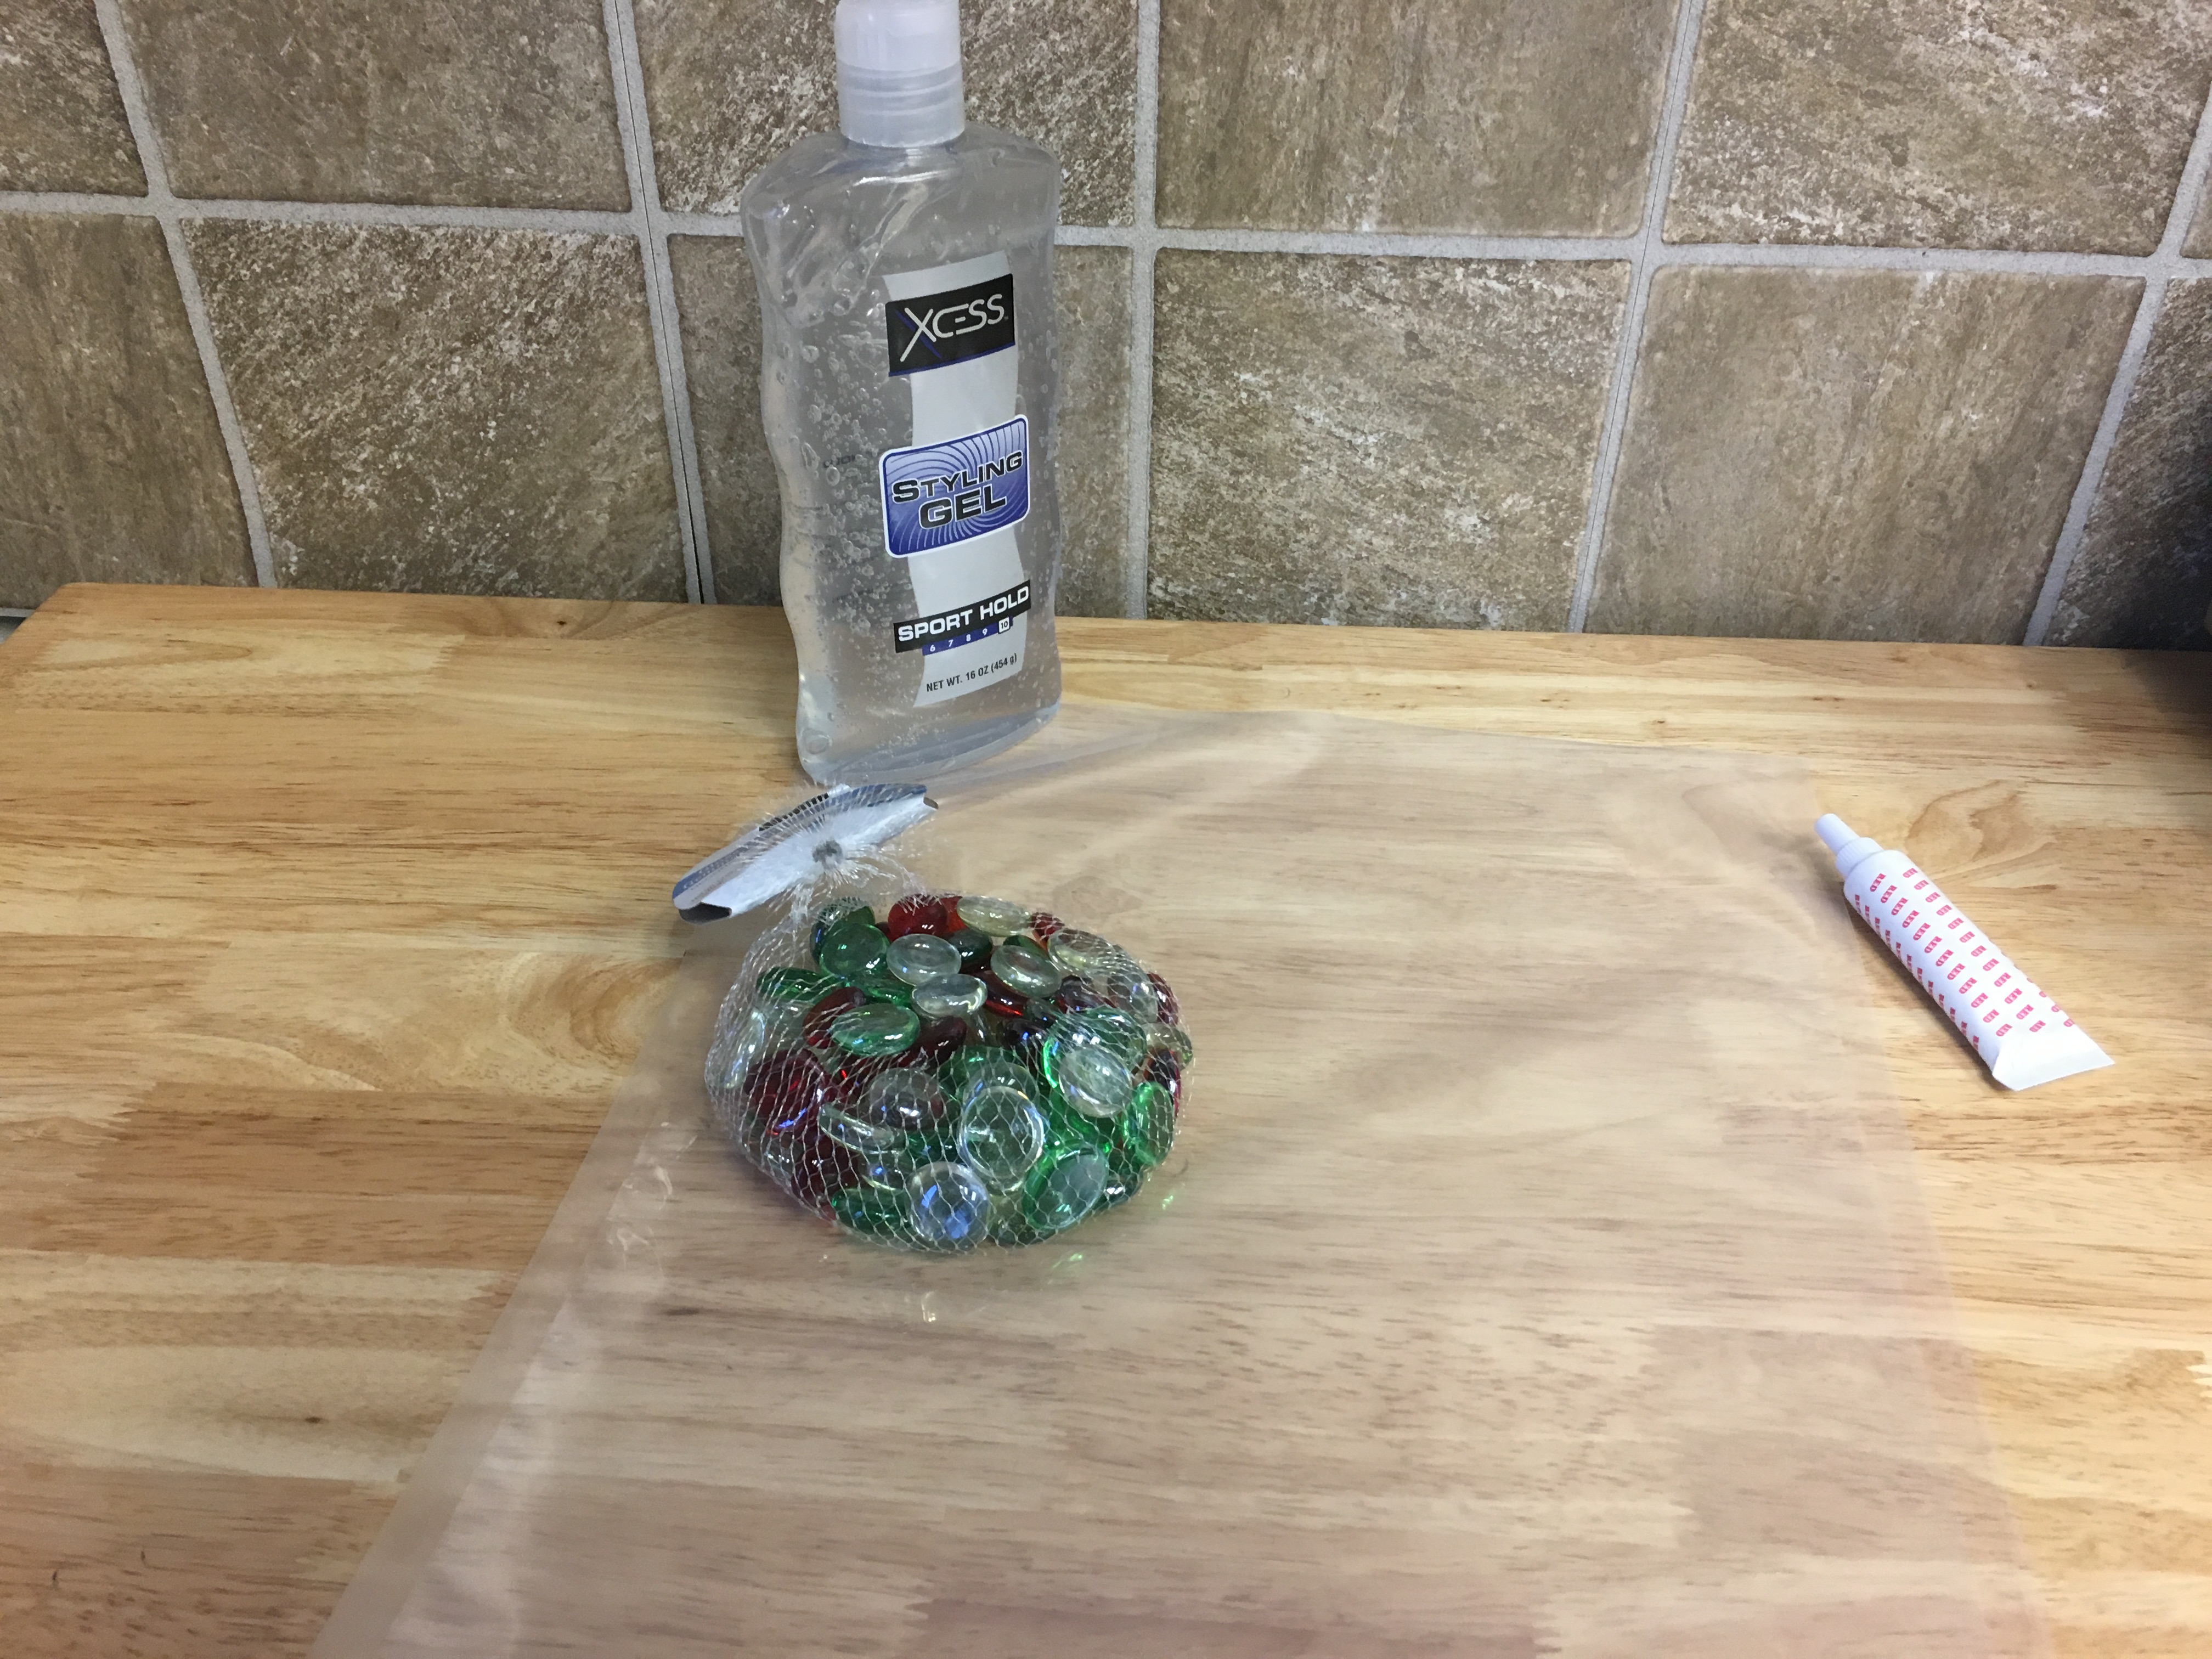
• Hair Gel (purchased at the dollar store)
• Food Coloring
• Glass Stones (also purchased at the dollar store)
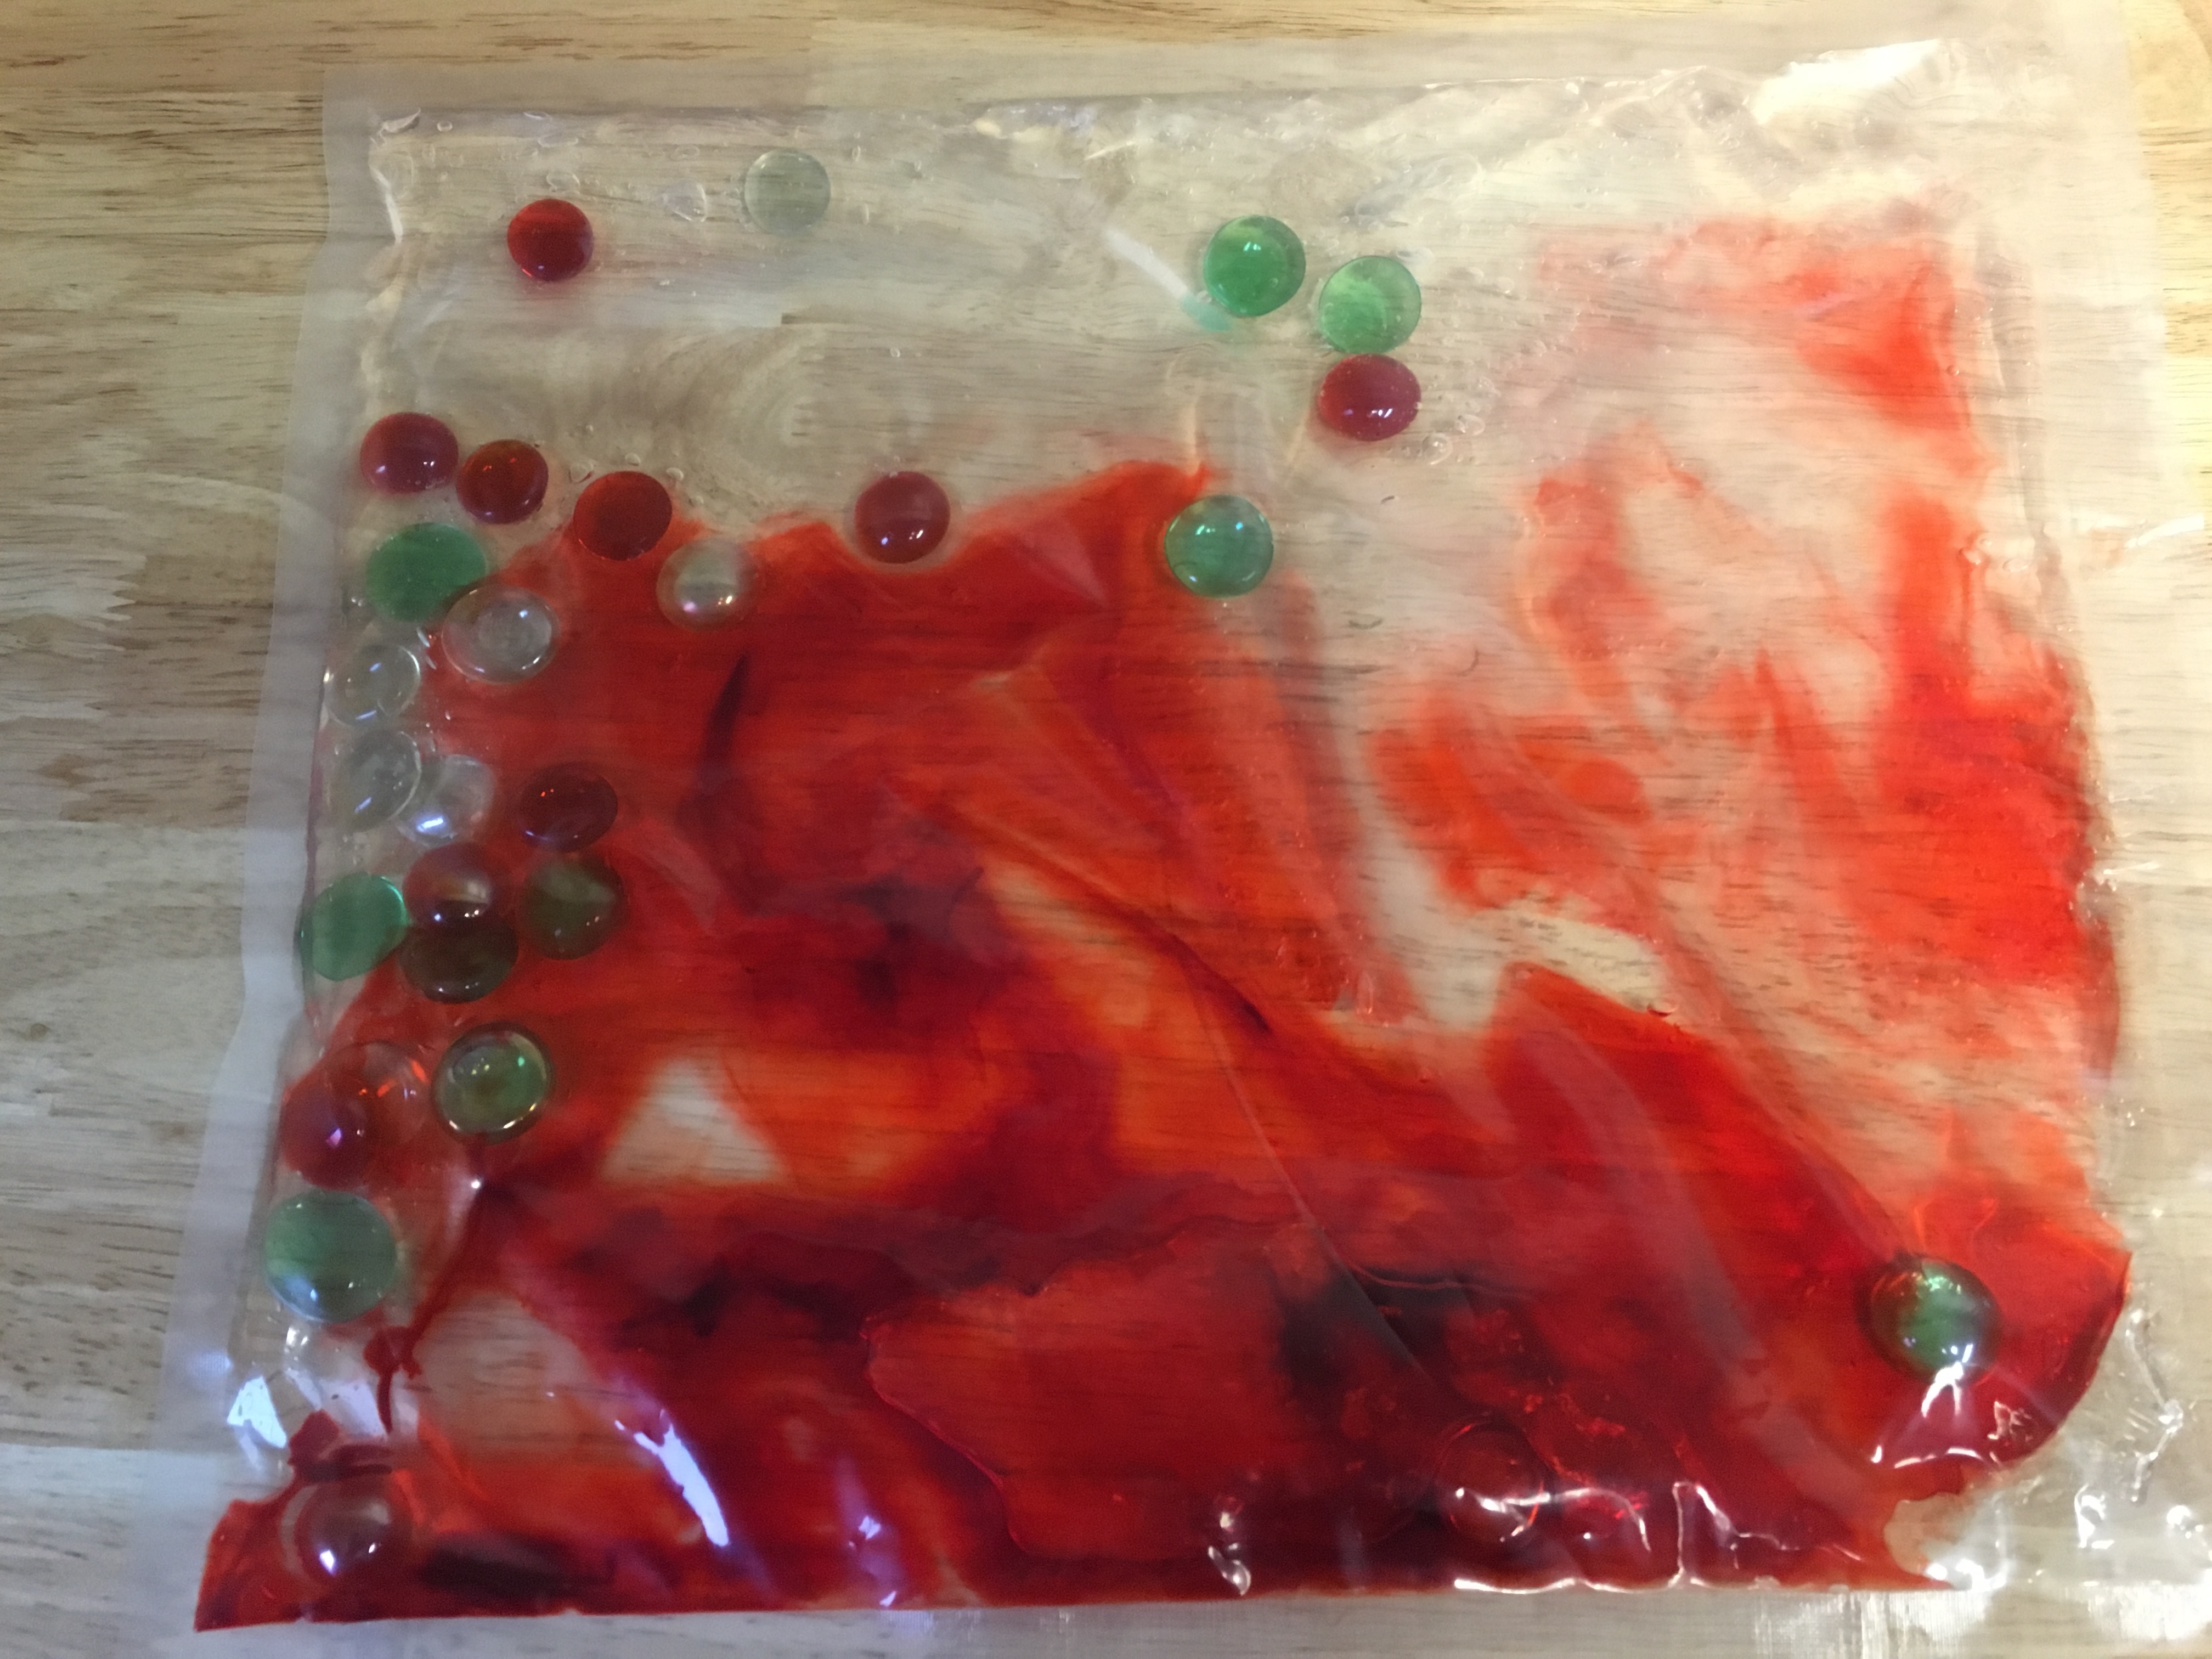
I simply pour the entire contents of the hair gel into my bag, add a little food coloring and as many stones as my little helpers desire, seal the bag with your suction or chamber sealer...and we're done! Sensory bags are great for infants and toddlers, even pre-k. As the child gets older you can modify sensory play, my three and four year old's love tracing their letters in the "goo" whereas my one year old simply enjoys the sensation of feeling and playing with the bag.