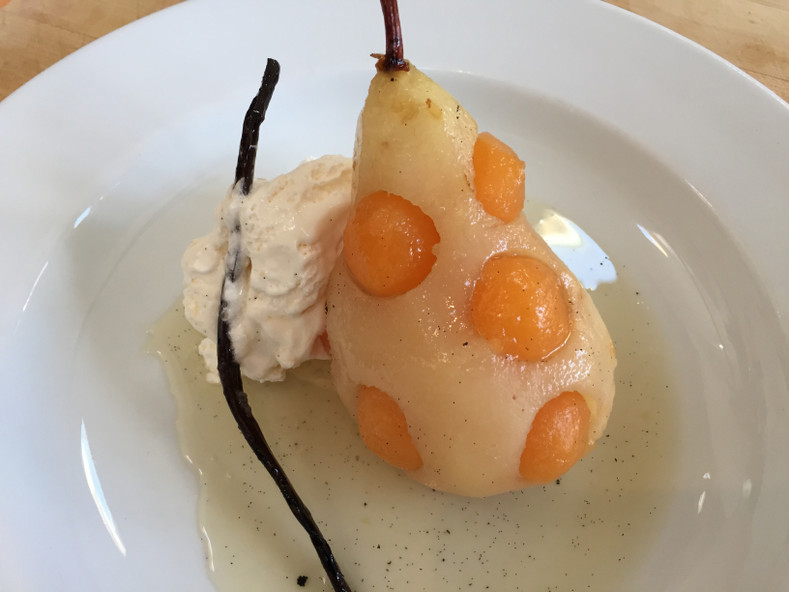
"Polka-Dot" Pears with Honey & Vanilla Bean Sous Vide
Many a culinary egghead feel that the pear came into its own in the 18th century. It was this time in France and Belgium where the horticulturists and scientists took great pains to study the fruit, classify it, and begin the painstaking work of new hybrid development.
Their efforts bore, uhh, “fruit” as it were, today there are over 3000 types of pears around the world. Some popular ones here in North America are, Bartlett, Anjou, Comice and Seckel to name but a few. But it was the Bosc or Beurré (buttery) Bosc that I chose for this recipe.
Bosc pears have a firm, dense flesh that makes them ideal for use in cooking as they retain their shape and texture better than other varieties and it’s their shape that makes them unique. Their long, curved stem and elegant elongated neck widens gradually to a full rounded base creating the classic pear silhouette and makes for a showstopper of a dessert.
Poaching pears conventionally is a time-tested and delicious method but the amount of sugar syrup needed to poach the pears effectively can be overwhelming to the home cook and not to mention wasteful. The sous vide technique is a perfect update allowing the cook to do away with the sugar syrup completely if one wants and replace it with small amounts of naturally occurring sweeteners like today's use of honey.
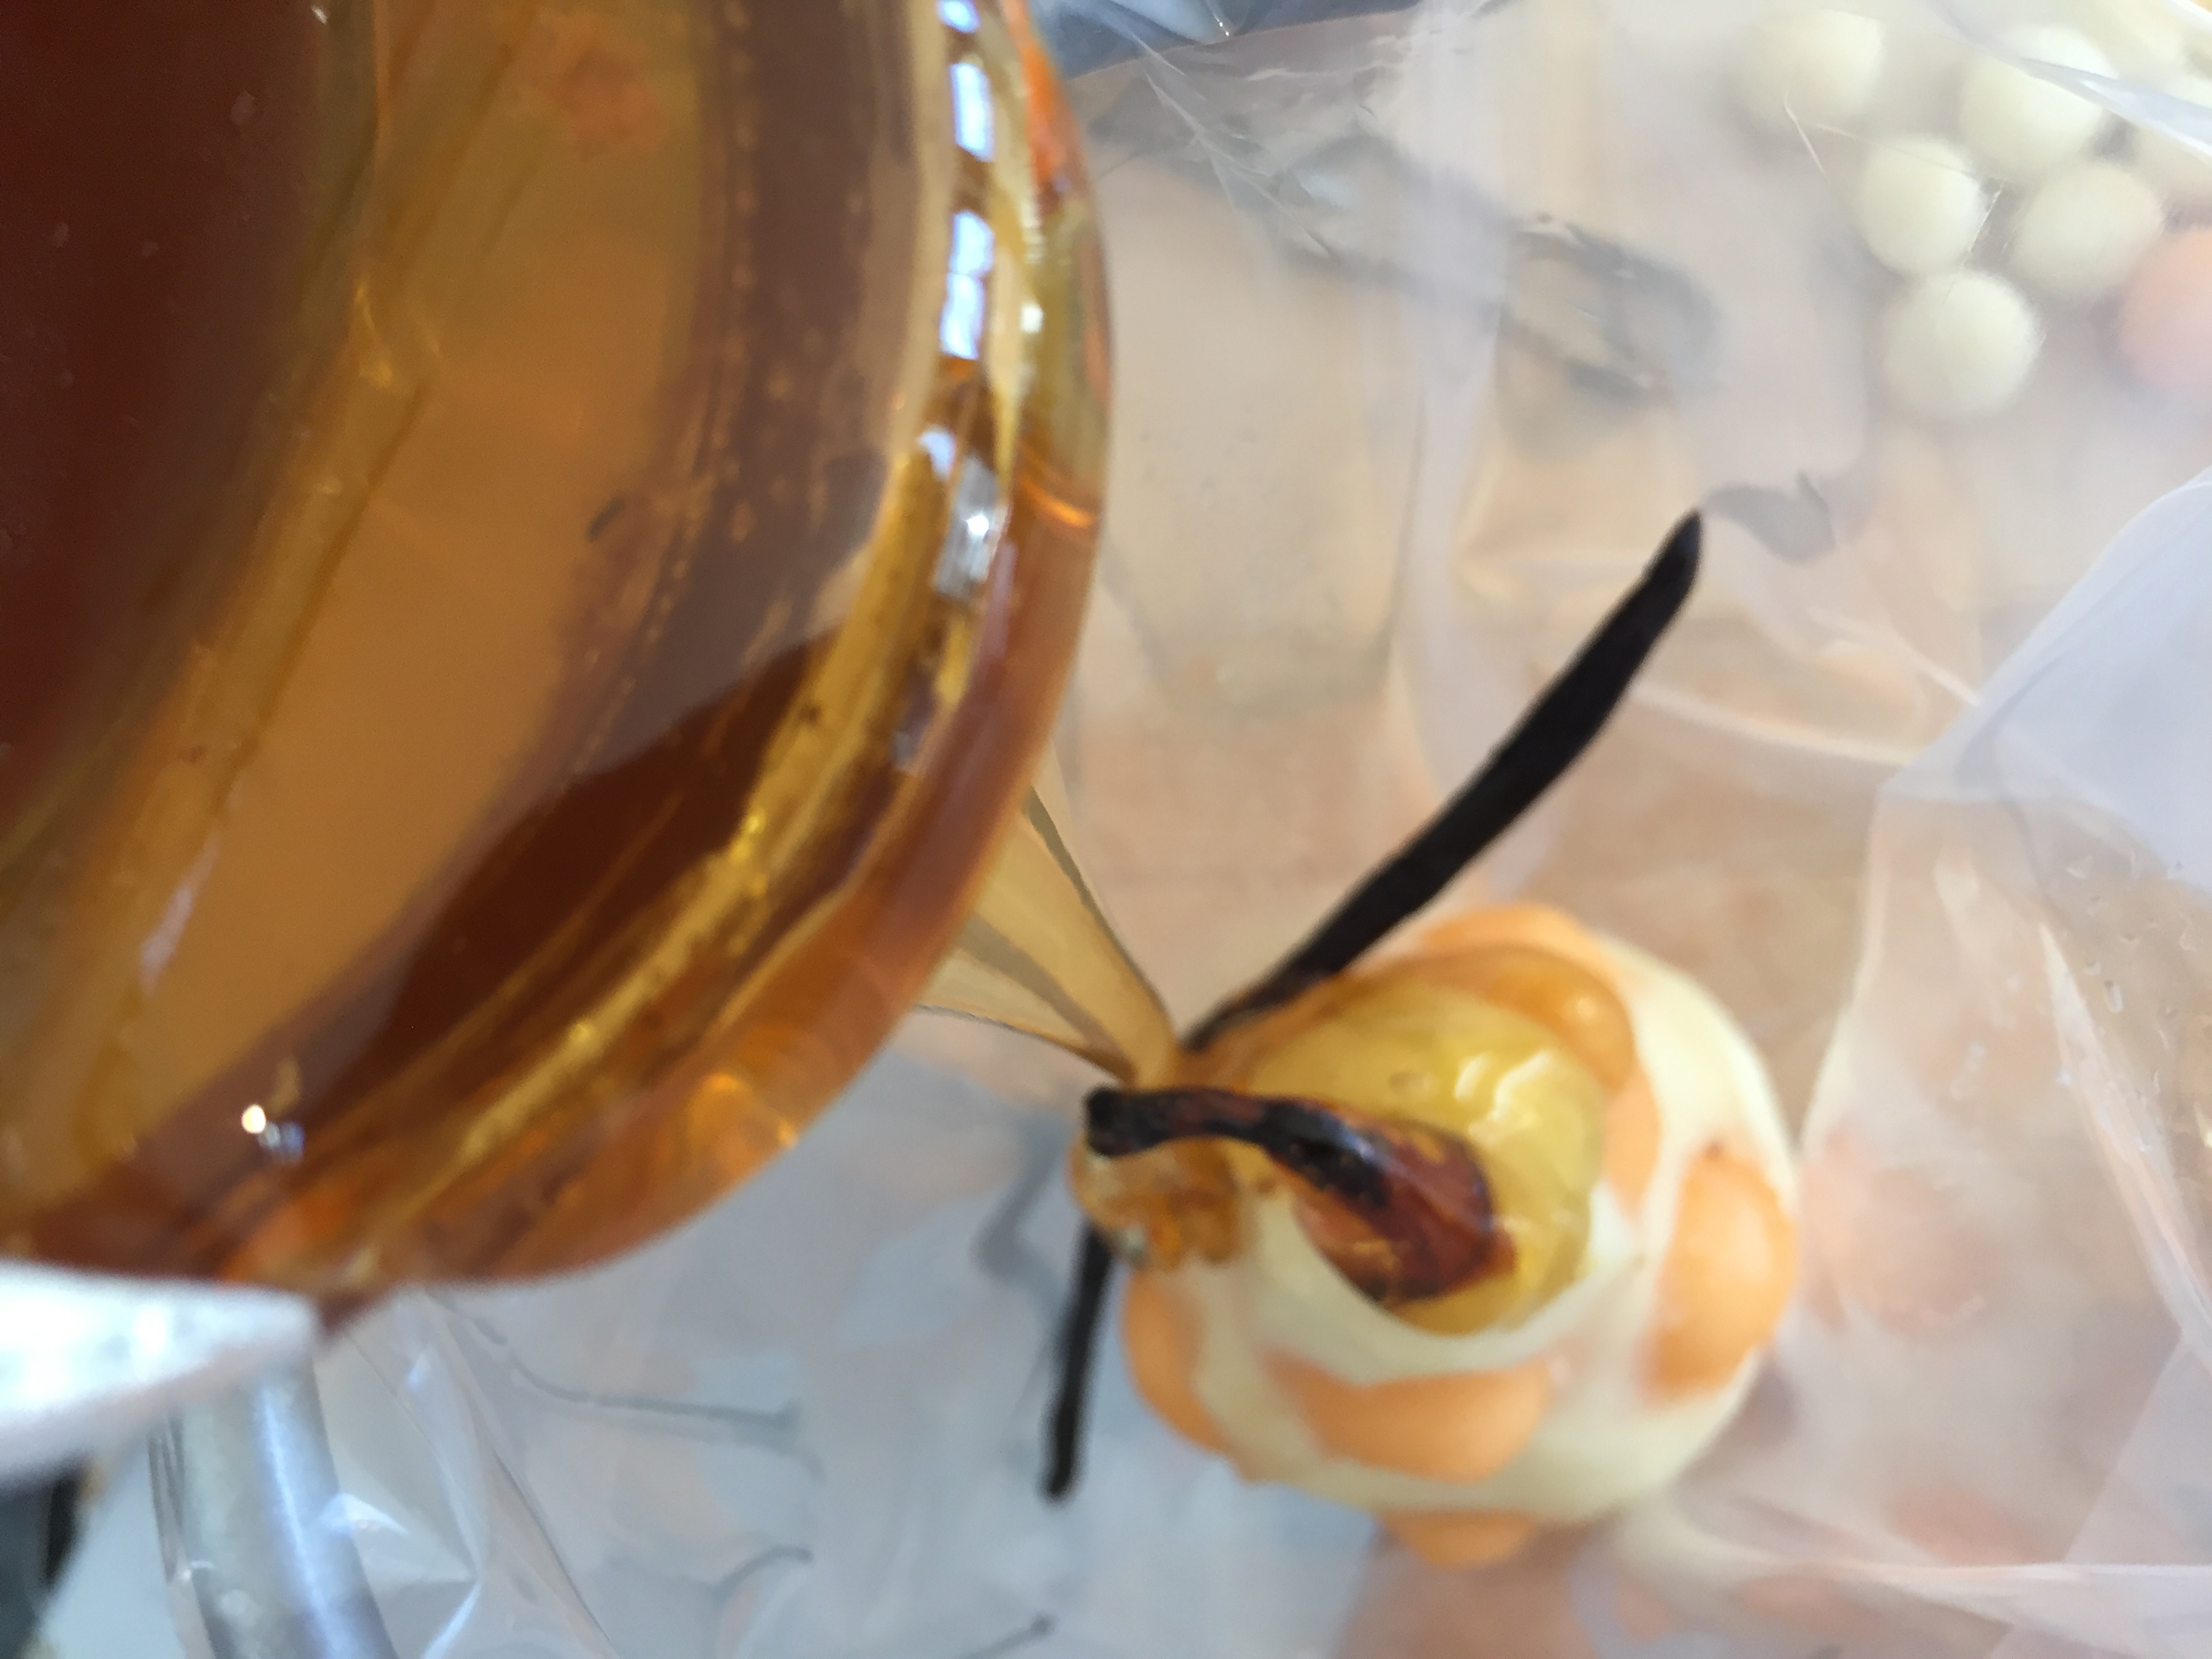
A dollop of honey with vanilla beans for an extra punch of flavor then finished with a bit of lime gives, “balance to the force” and makes for one delicious dessert. As far as the Polka-Dot part of the recipe goes, well, you need to read the recipe to see what I’m doing with the cantaloupe!
Ingredients:
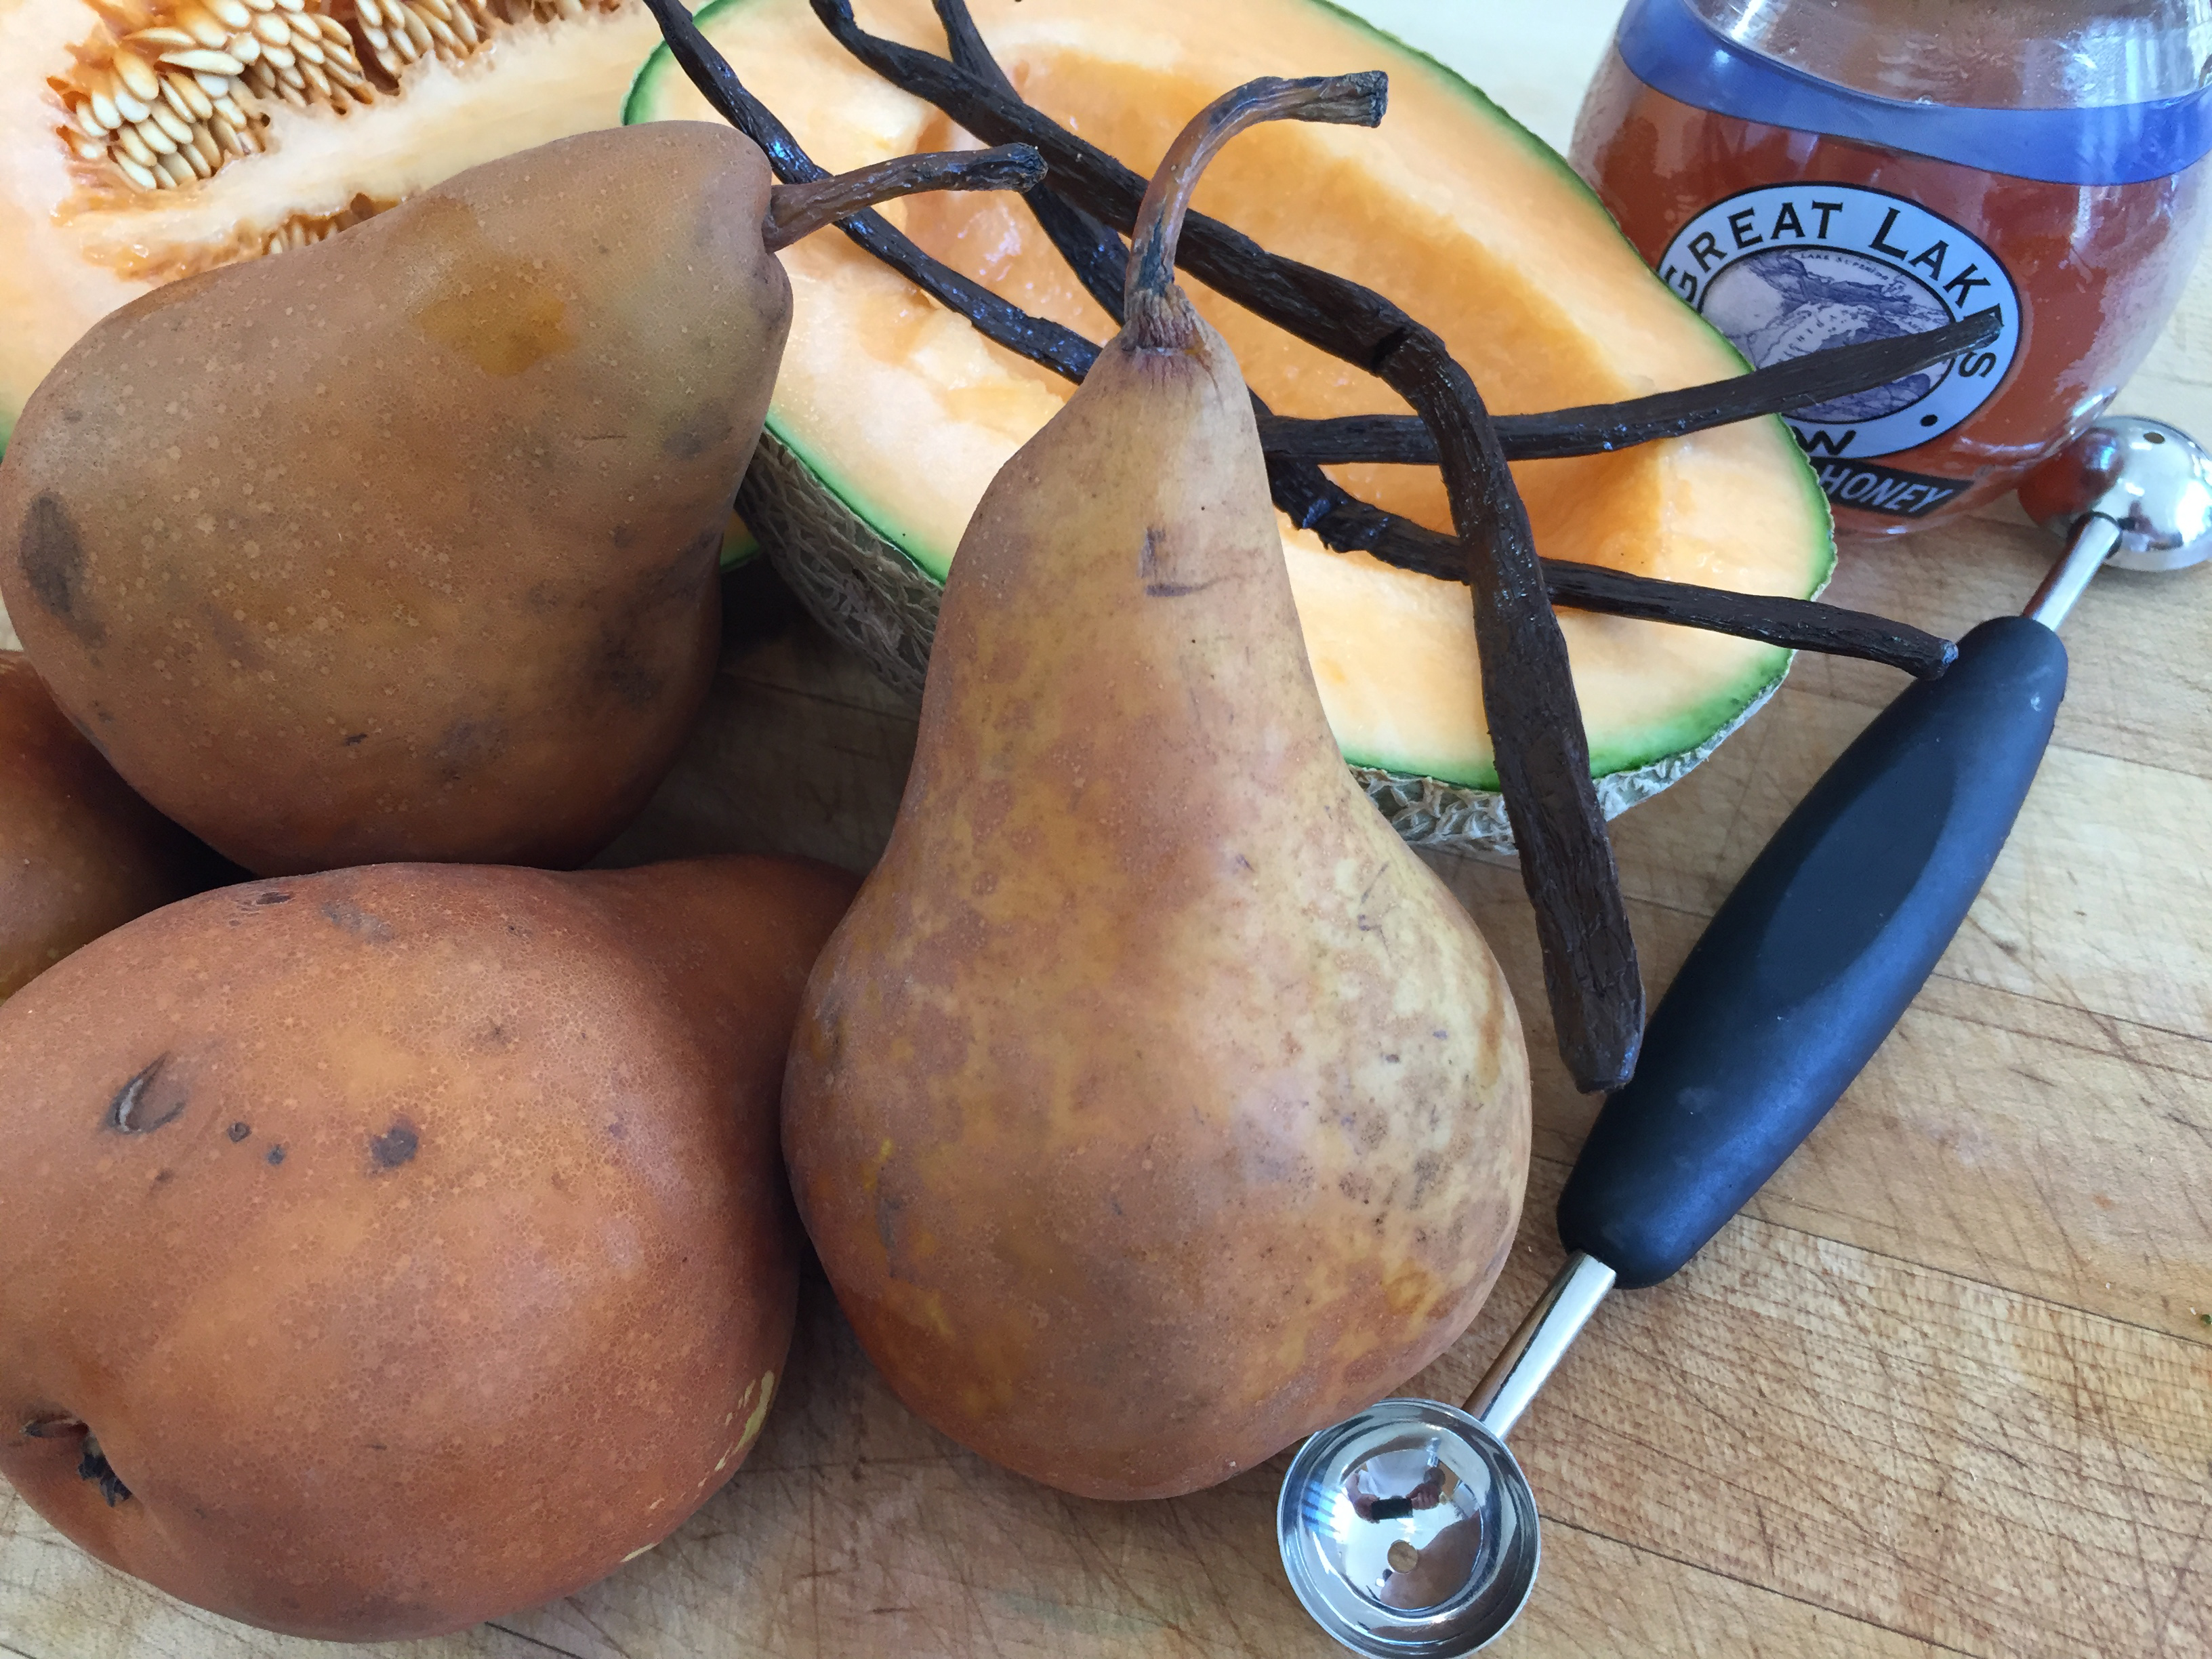
• 2 Pears, fresh, bosc or similar
• 1 small cantaloupe
• 4 tablespoons honey, clover or similar
• 1 large vanilla pod, fresh, split lengthwise
• 2 tablespoon lime juice, or to taste
For serving:
• optional ice cream
• optional freshly whipped cream
Directions:
1. Preheat the SV1 water bath to 80°C/176°F
2. Carefully peel the two pears leaving them whole.
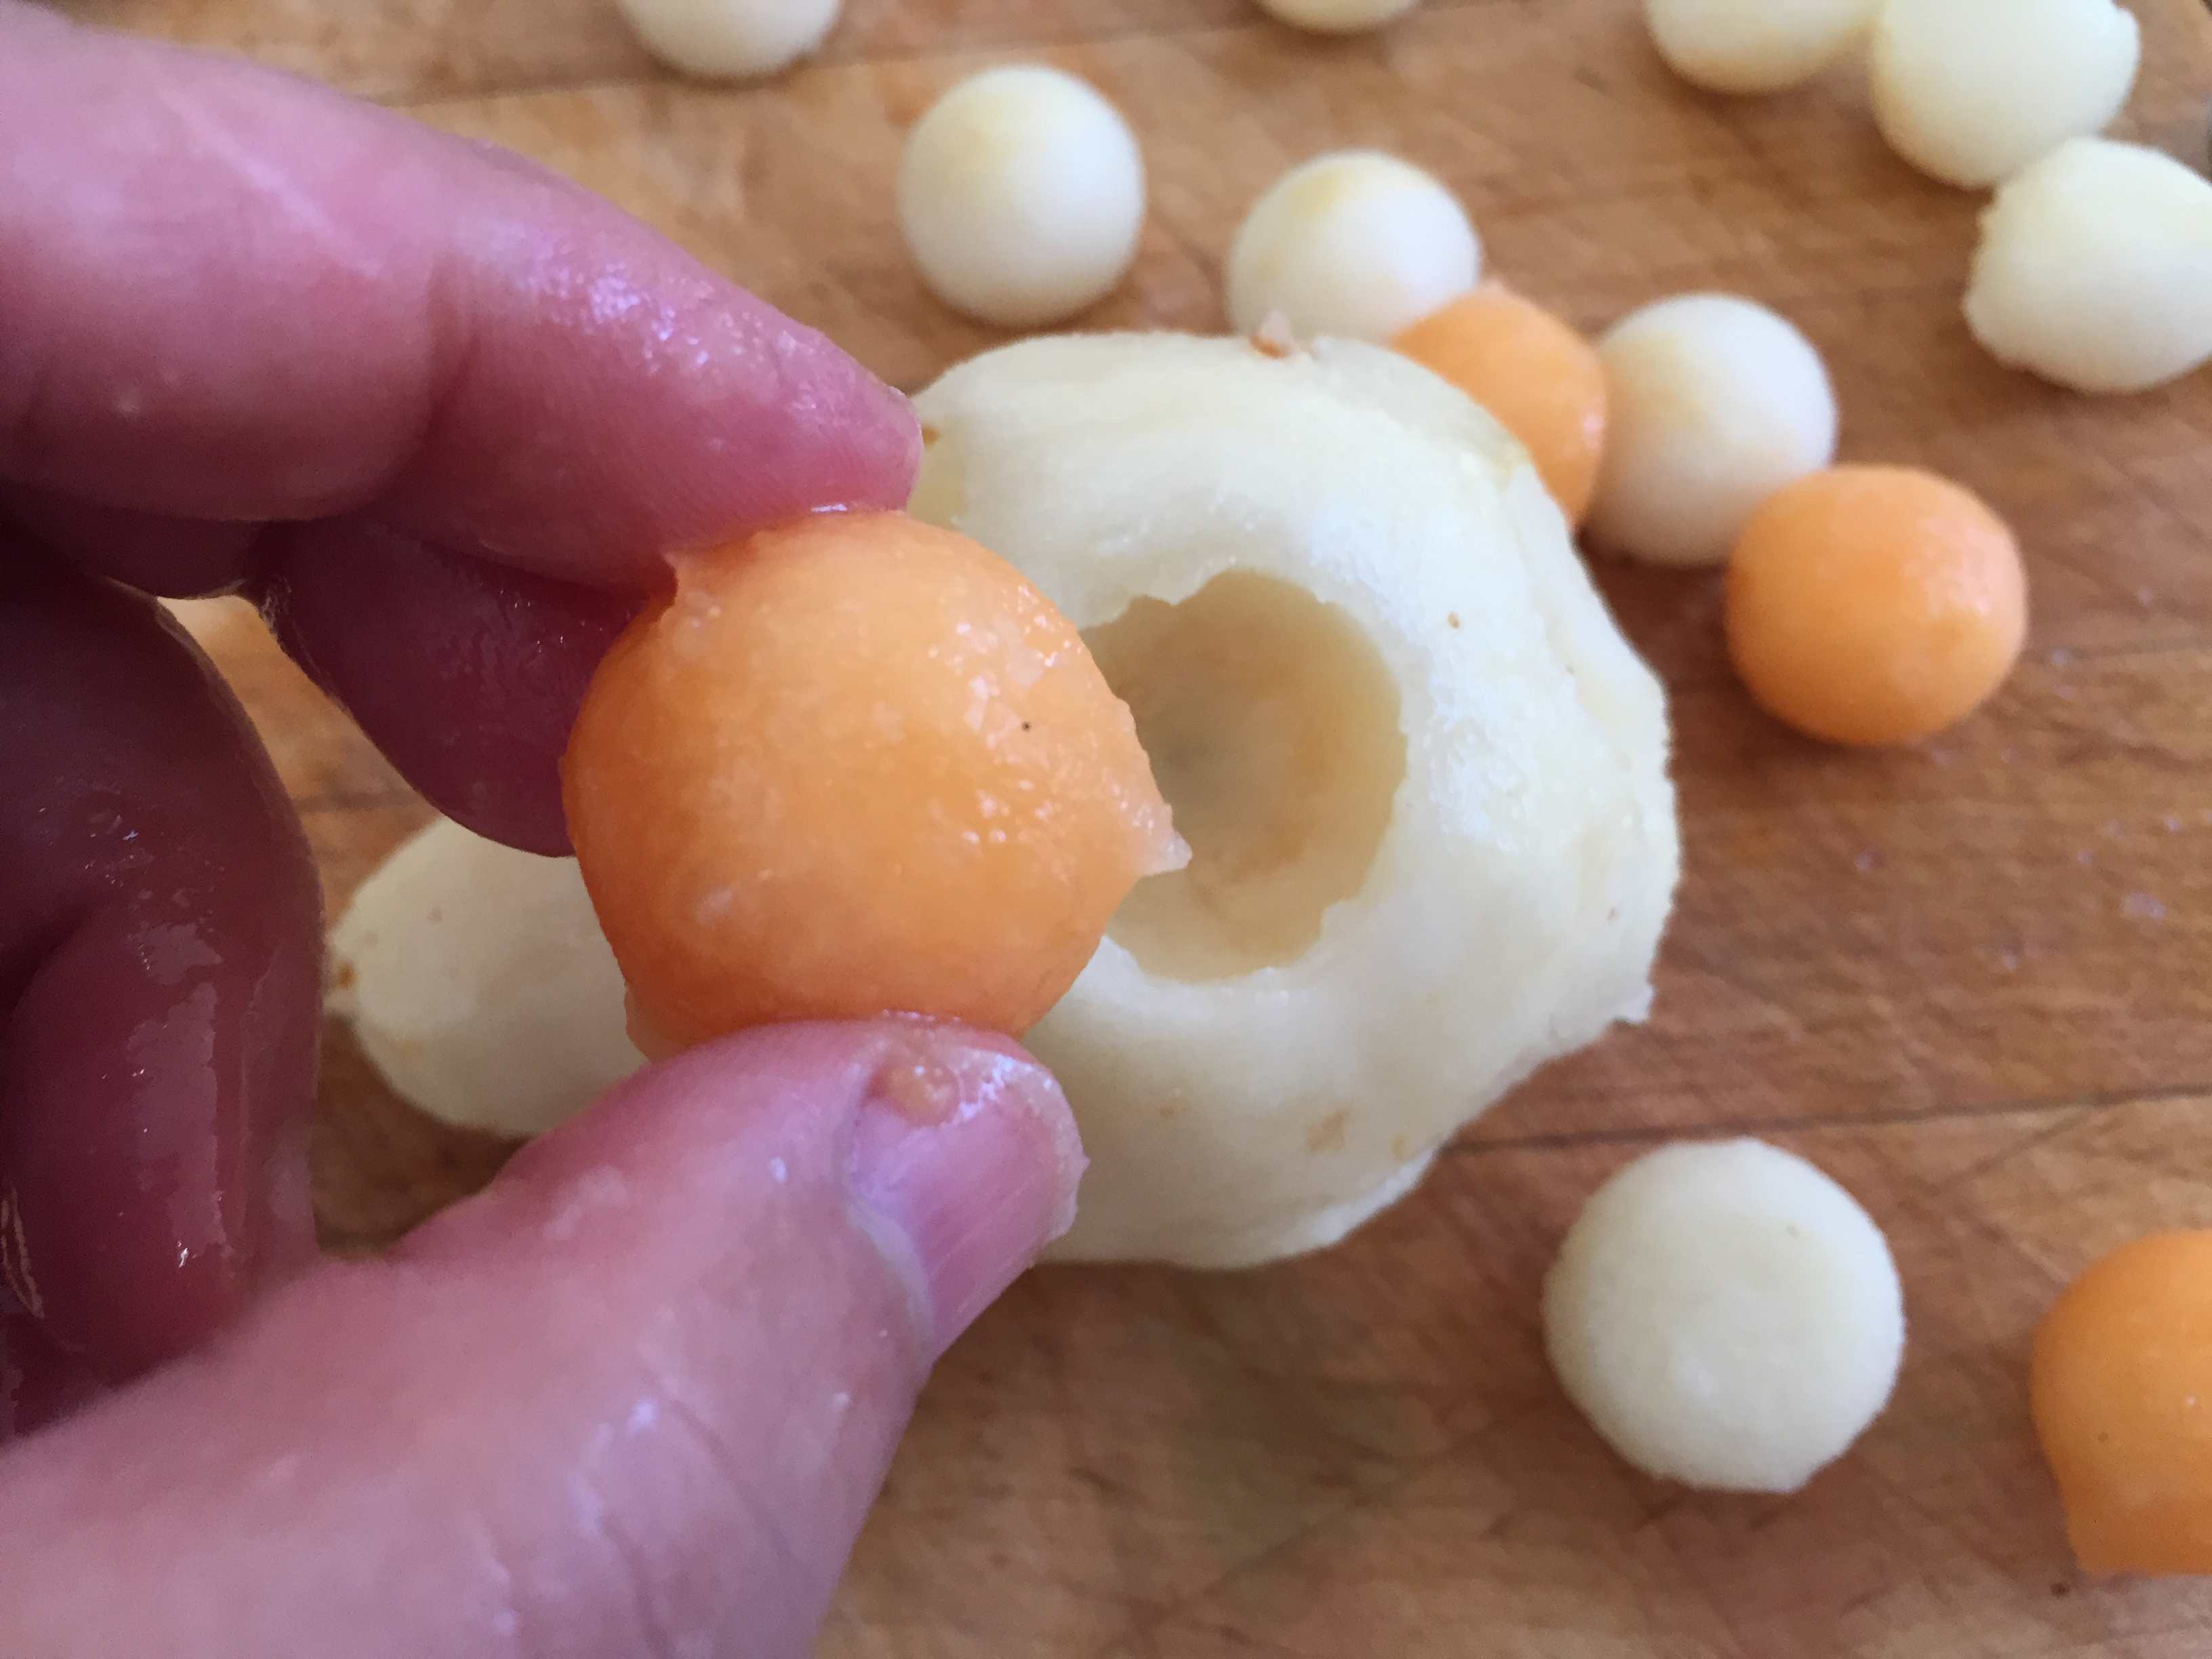
3. Hold the pear upside down and using a melon baller, scoop out the core at the base with one motion, discard the core.
4. Using the small end of the melon baller gently and carefully scoop out balls of pear being careful to space evenly between scoops so as not to tear or break the body of the pear in any way.
5. With all the balls removed the structure of the pear will be compromised so be gentle.
6. Repeat with the second pear and reserve.
7. Use the removed pear balls as a garnish or for another use.
8. Split the cantaloupe lengthwise and using a large spoon gently remove the seeds and discard.
9. Using the small end of the melon baller begin scooping out balls of cantaloupe on both sides matching the number you removed from the pear and reserve.
10. Cradle one prepared pear in your hand and begin gentle pushing the cantaloupe balls in the empty holes of the pear.
11. When finished, repeat with the second pear.
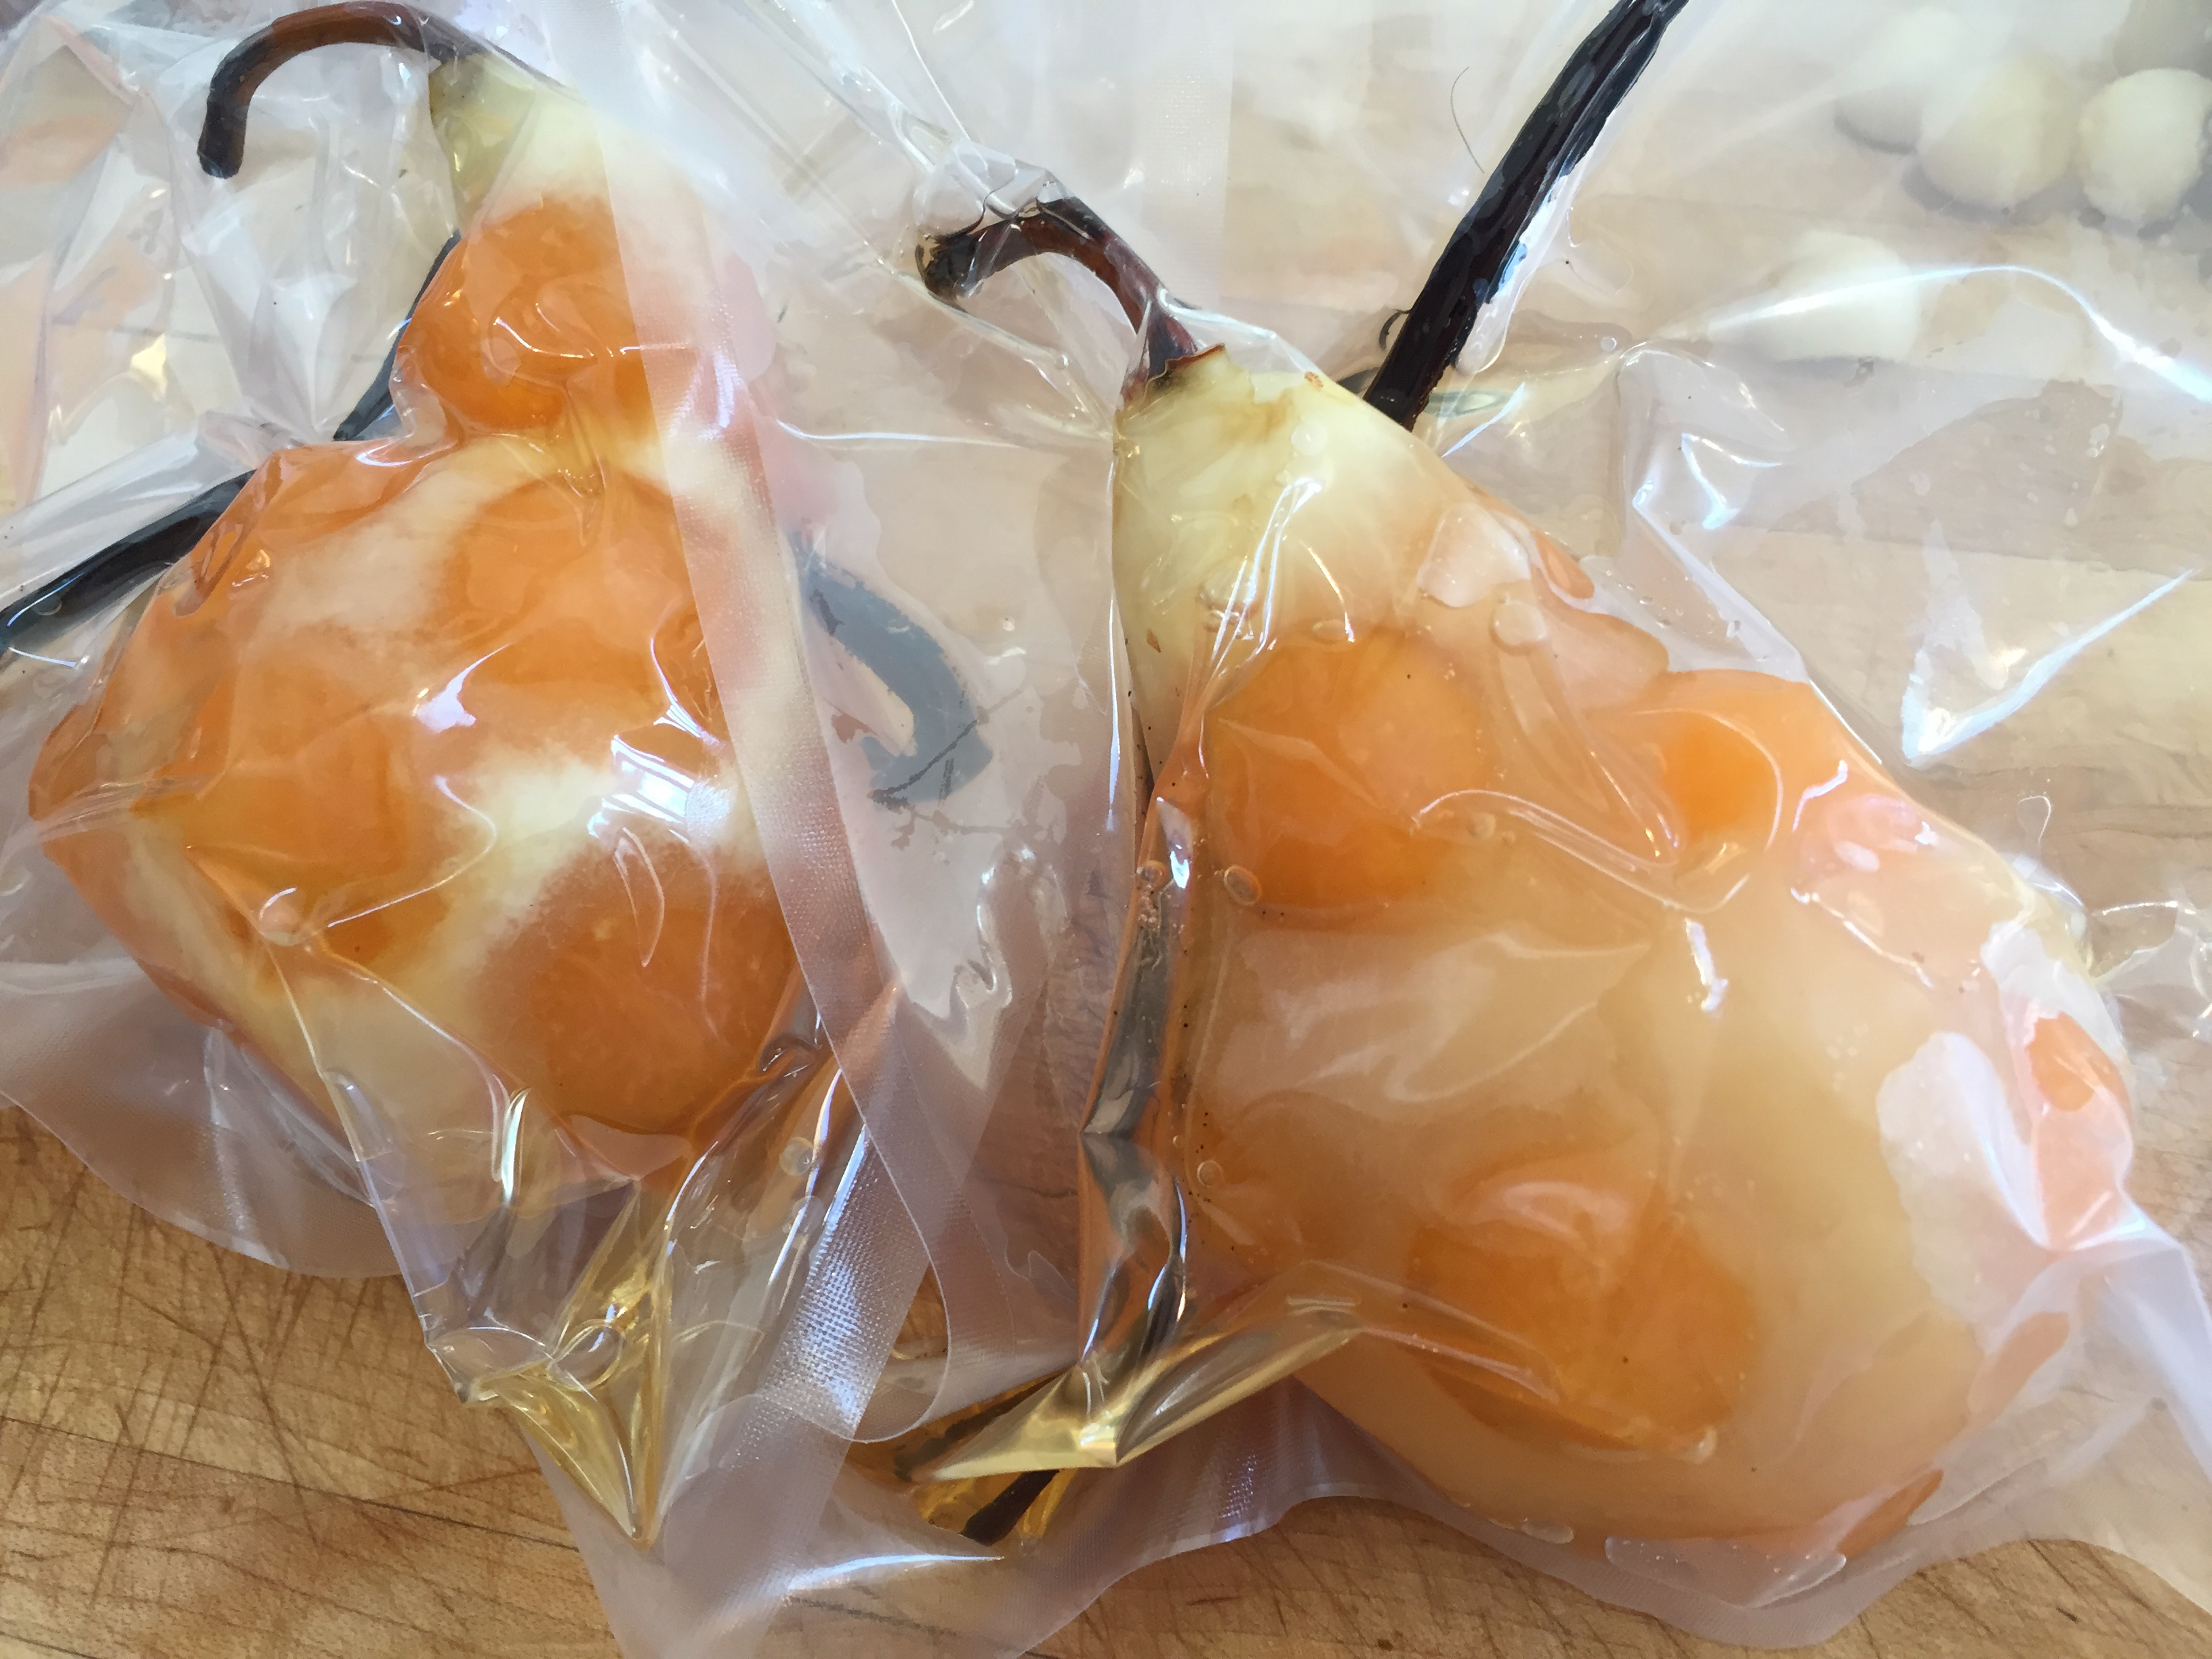
12. Using the VacMaster bag filler and using VacMaster bag(s) place one or both pears inside along with the honey, lime juice and split vanilla pod.
13. Using a VacMaster chamber machine vacuum seal the bag.
14. Place the bag in the preheated water bath of the SV1 and cook for 20–30 minutes or more.
15. The pears are ready when you can gently squeeze the fruit and the flesh is soft but still holding its shape.
16. The timing on this will vary greatly depending on the ripeness of the pear when purchased.
17. Remove the bags from the circulator and carefully remove the pears from the bags.
18. Place each pear on a serving plate drizzled with the honeyed cooking liquid and the vanilla bean.
19. Serve as is or with the optional dollop of freshly whipped cream or ice cream.