Bacon Wrapped Turkey Roast

It’s turkey time. Between turkey hunting, and the holidays, it’s the time of year for delicious turkey meals. Get your VacMaster SV1 and vacuum sealer ready, and enjoy this bacon wrapped turkey roast
This roast is easy, economical, and elegant. Perfect for an economical weekend meal or fancy enough for guests.
Ingredients:
- 3-4 pounds turkey thighs, skinless
- 6-8 tablespoon transglutaminase, or as needed
- 2-3 tablespoon herbs de Provence, as needed
- 2-3 tablespoons kosher salt, or to taste
- 13-20 rashers bacon rashers cut thin
- Cooking oil, for frying
Directions:
- Cut the turkey thighs in approximately one inch cubes and place into a suitable sized mixing bowl.
- Sprinkle the herbs and salt over the meat and using a rubber spatula or similar and mix thoroughly.Using roughly half of the transglutaminase dust in a fine layer using a fine-mesh sieve or can styled shaker over the turkey mix well and repeat until the turkey is totally coated.
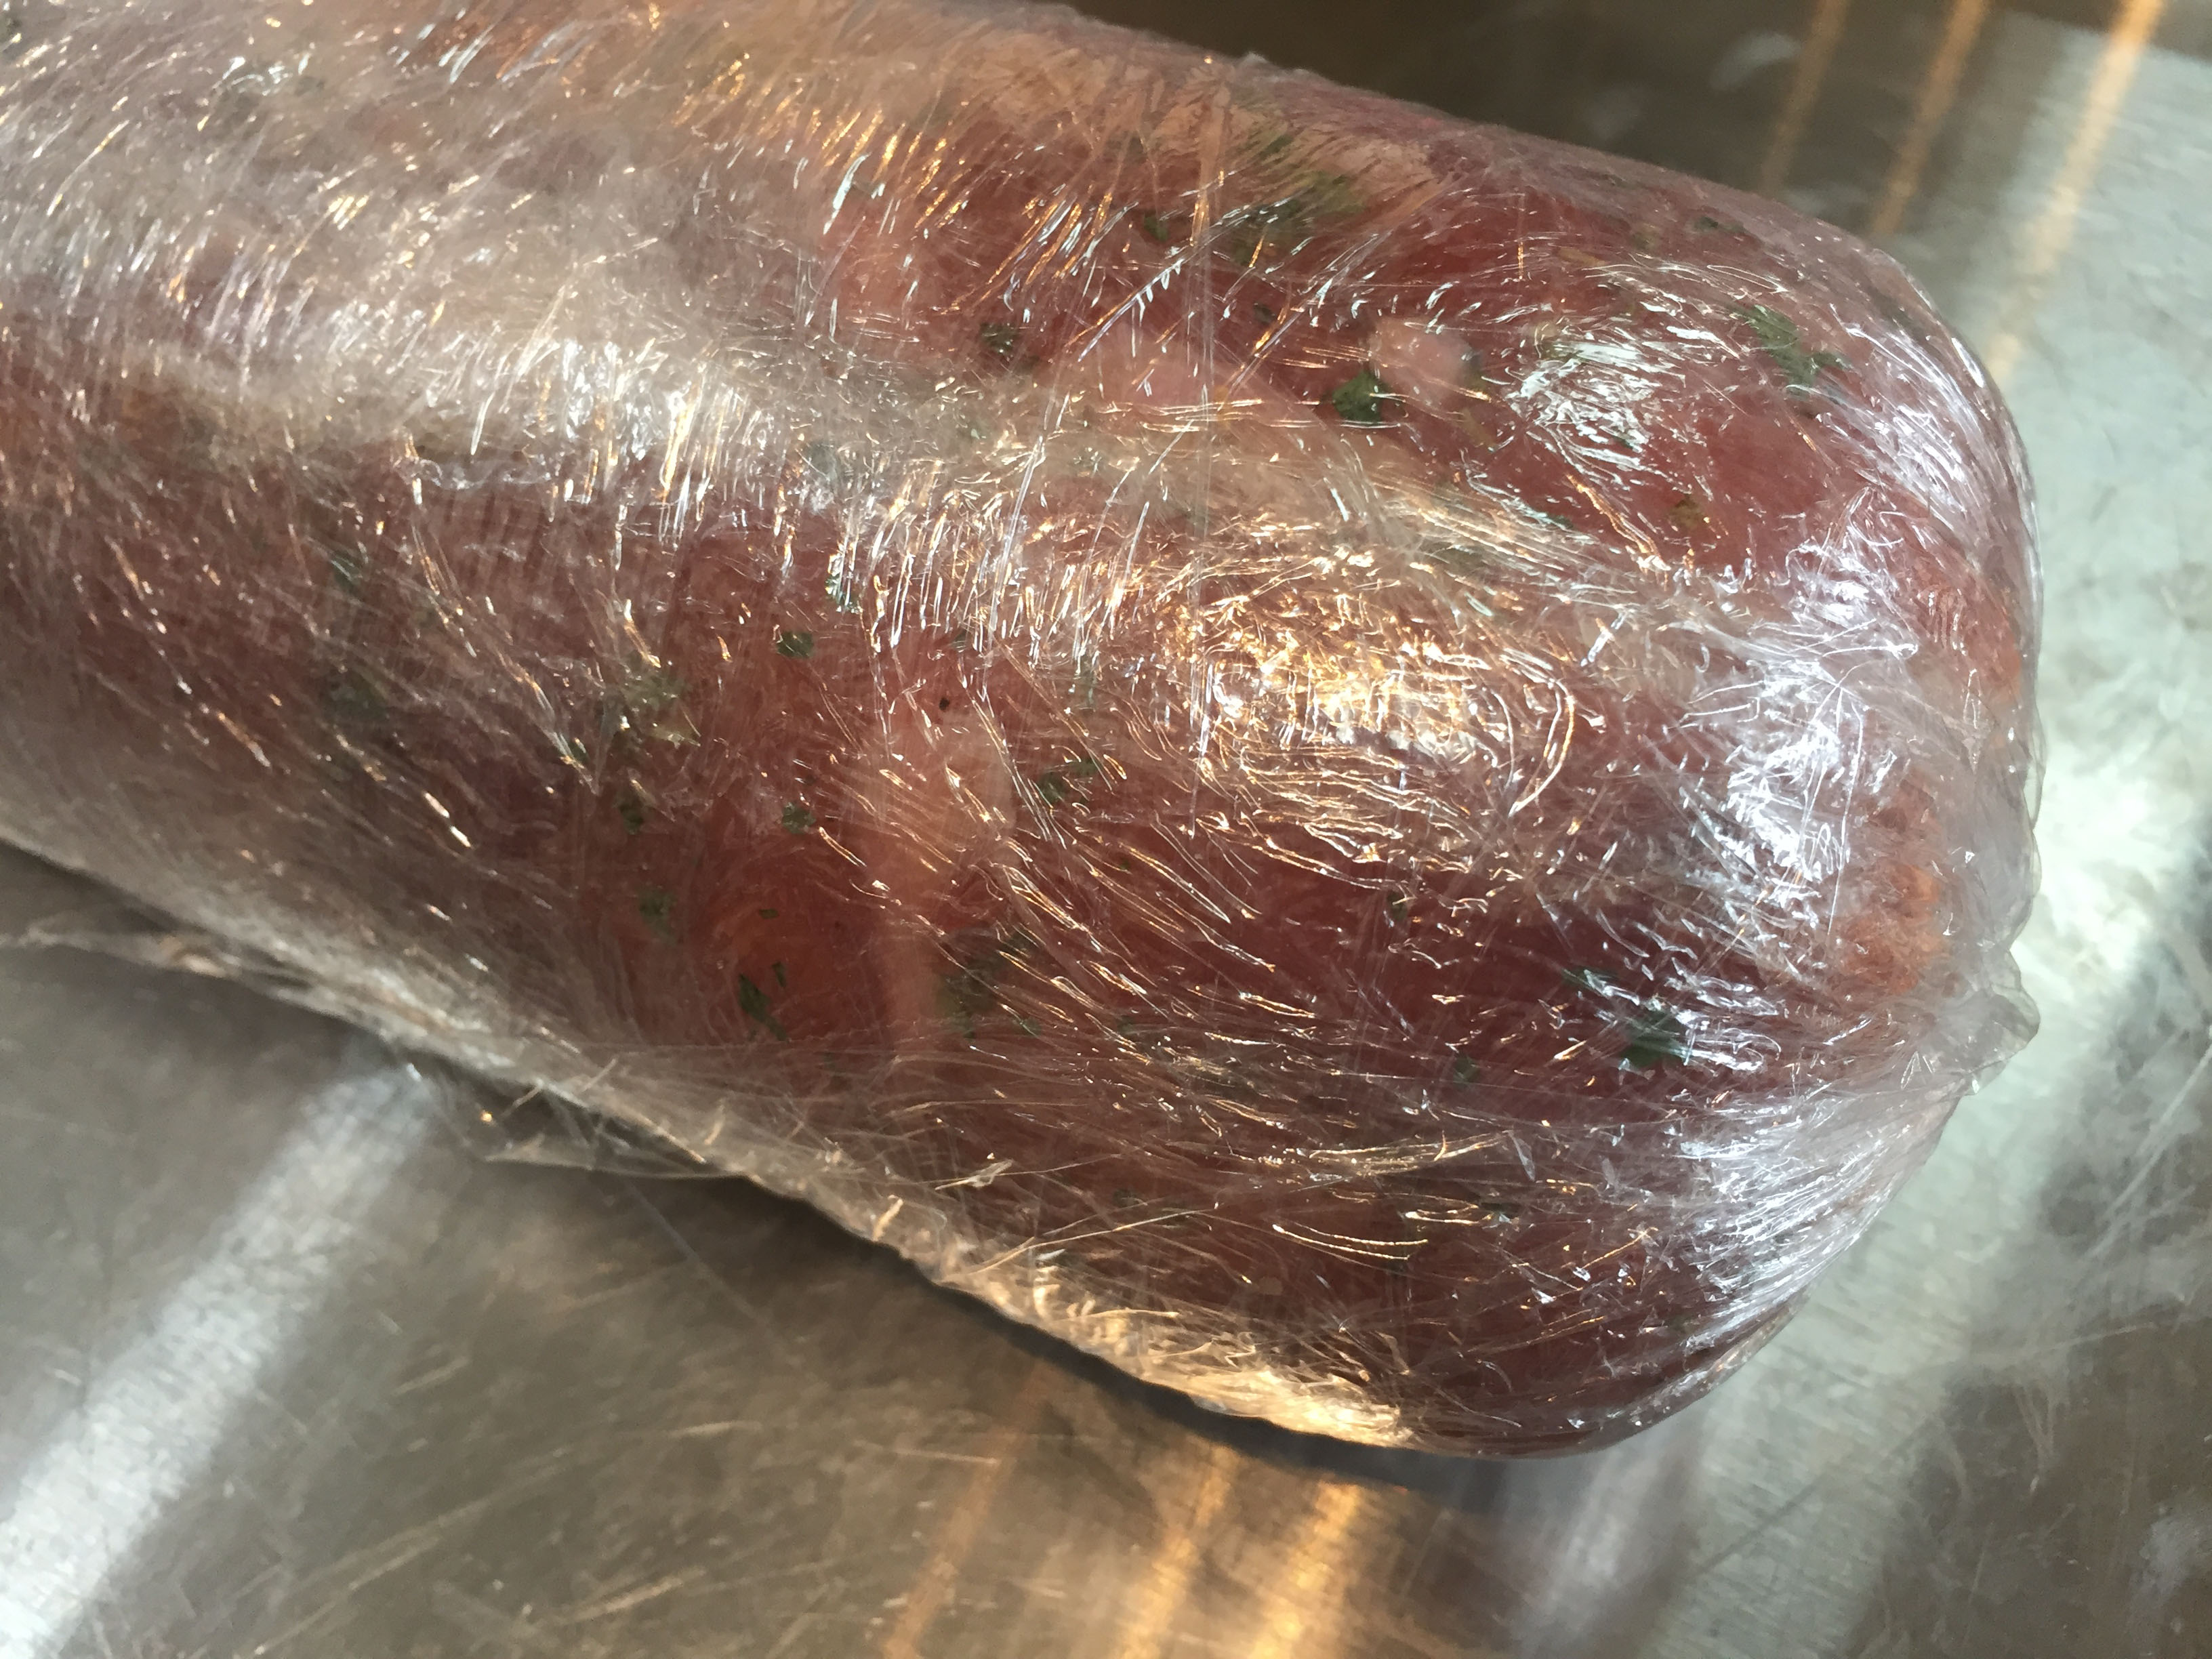
- Set your roll of plastic wrap on the top edge of your work surface.
- Pull enough plastic over your work surface to cover it completely, plus a little extra over the edge (depending on the width of your plastic wrap you might need to overlap two pieces to accommodate your roast)
- Place the turkey at the top and center of the plastic wrap in a log shape
- Pull the loose edge of the plastic (the side closest to you) tight, and pull up and over the mixture. While keeping the plastic tight, roll over three or four times. Grasp firmly on the edges of the turkey and pull the plastic outward as if unwrapping a roll.
- Roll over a couple more times and repeat then roll a couple more times and cut the plastic wrap.
- Roll the ends of the roast in opposite directions, so that the ends of the plastic compress the roast into a tight cylinder.
- Tie the plastic off in a knot as close to the edge as possible and repeat on the other side.
- The roast should feel very tight and spring back when you squeeze it.
- Refrigerate the roast for 45-1 hour to firm up.
- Preheat the SV1 to 151°F/66°C.
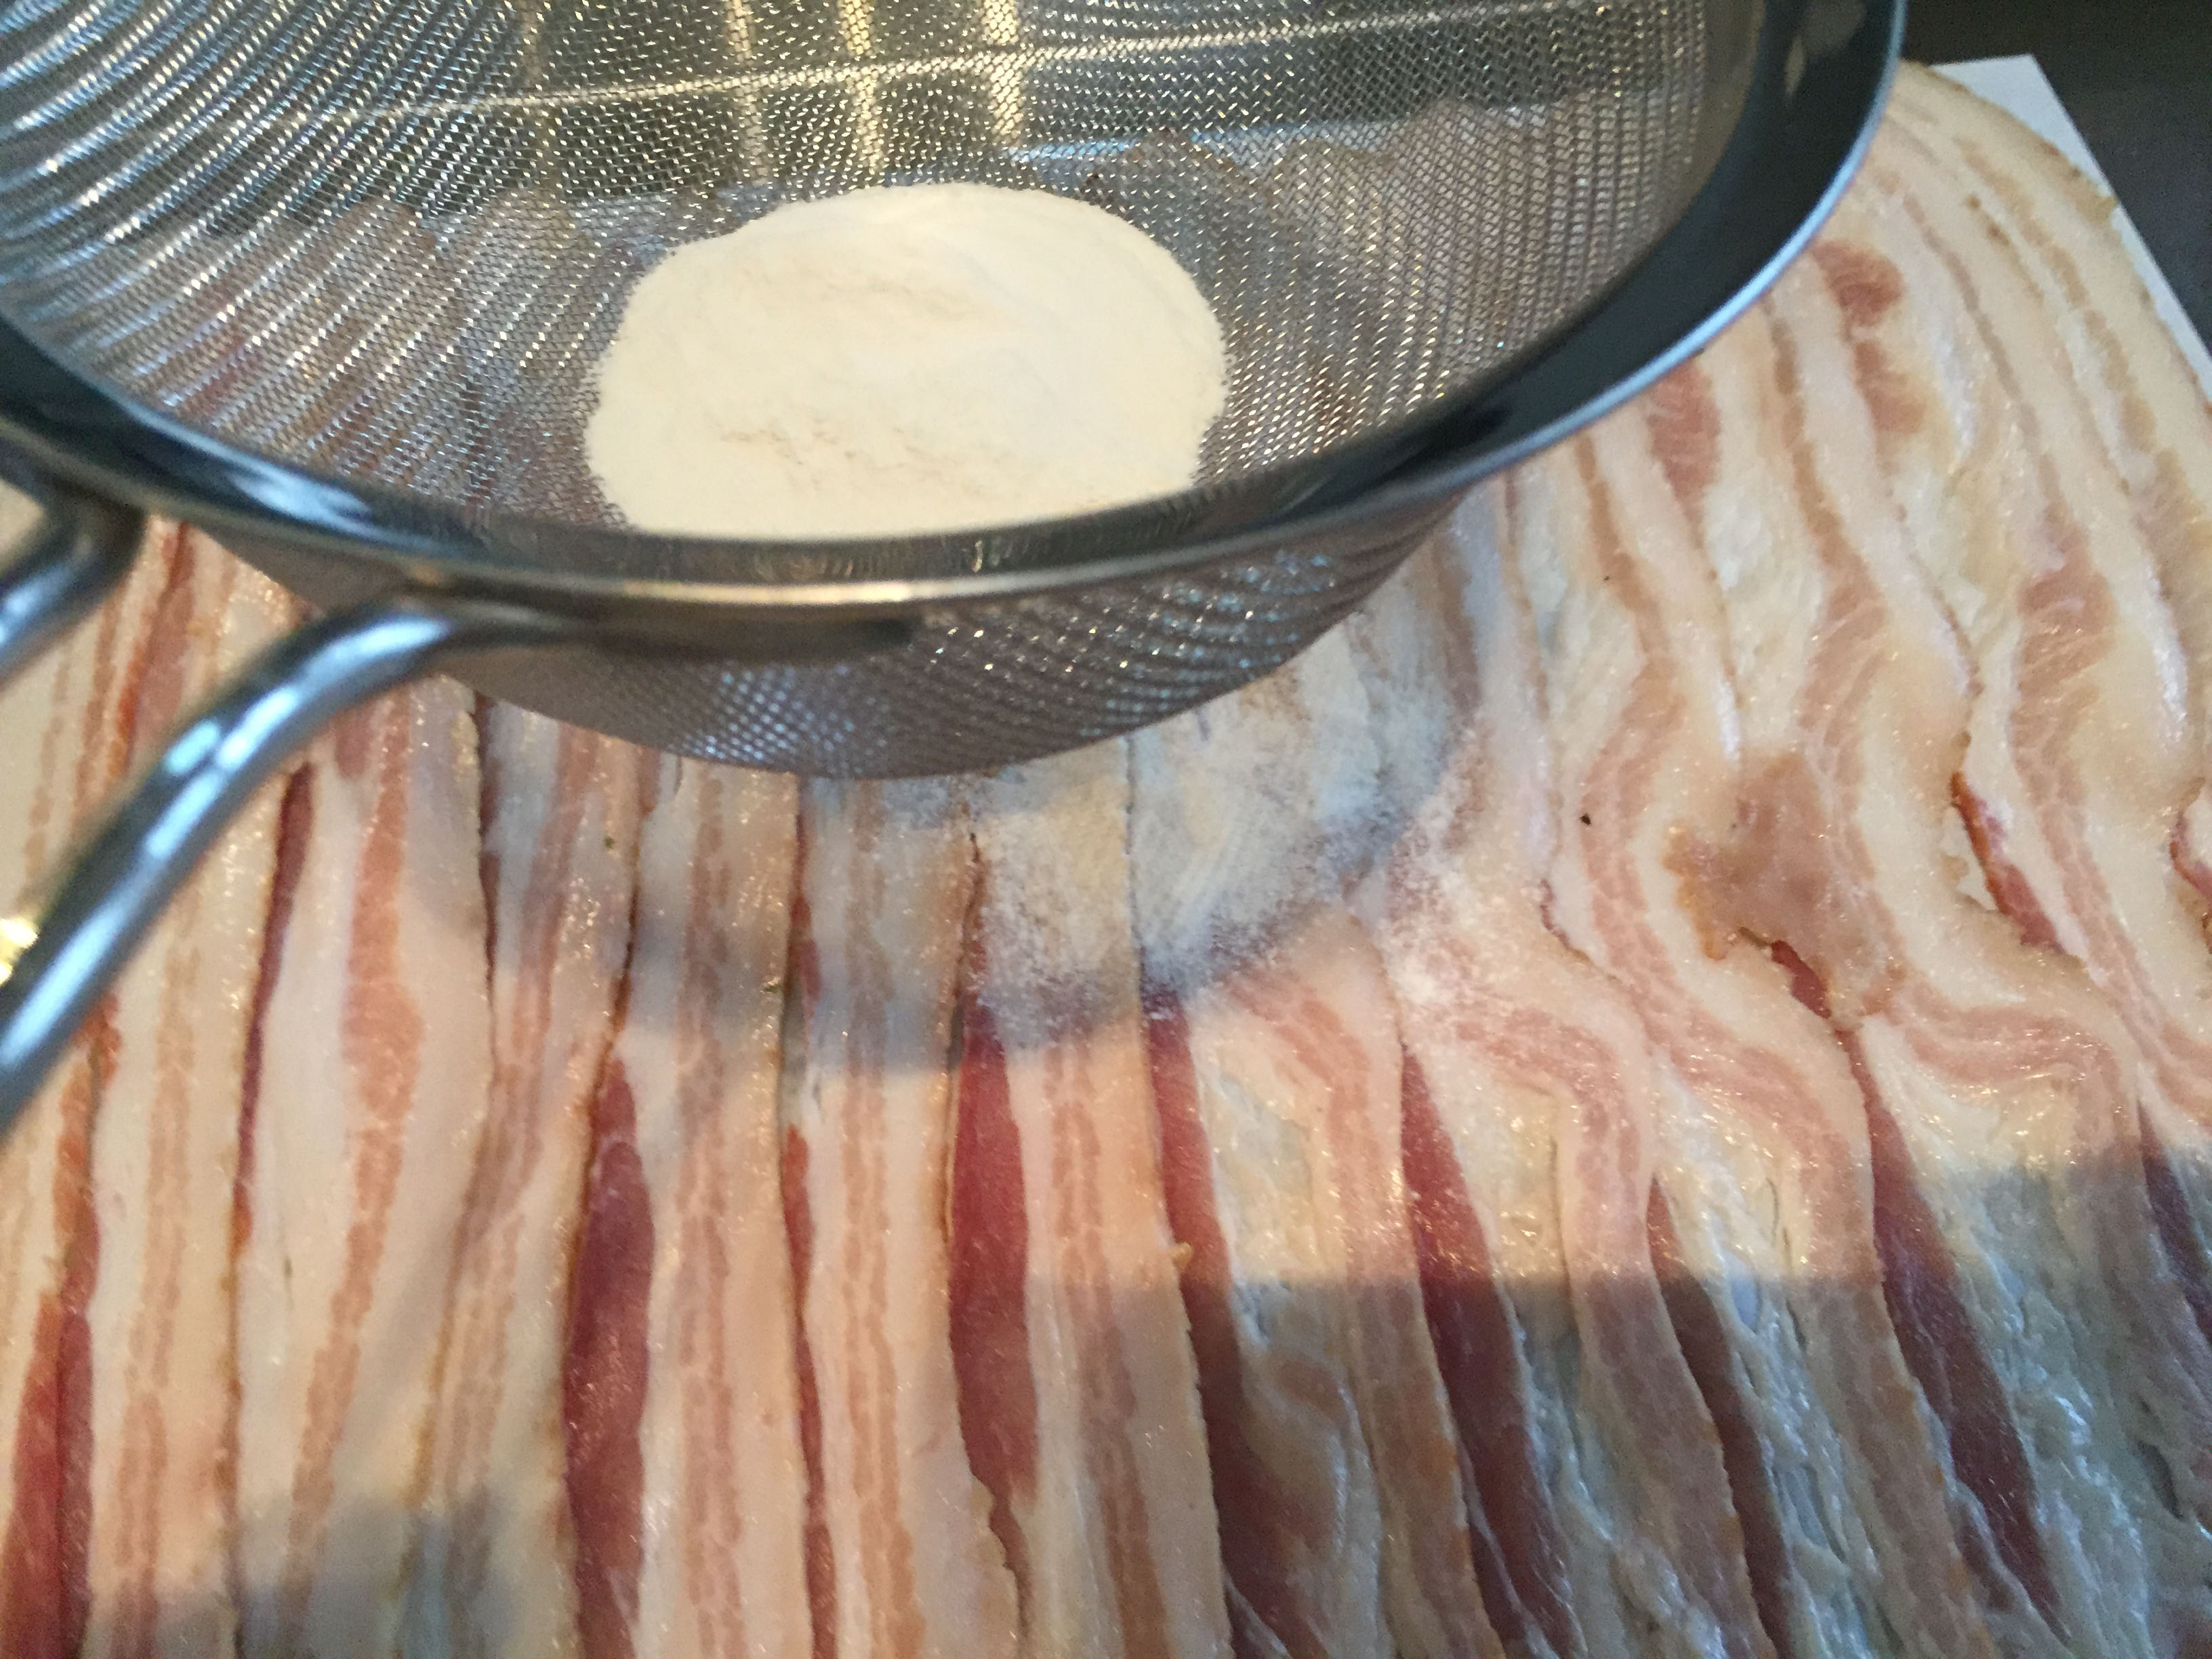
- Place a large sheet of parchment paper on your work surface and place as many bacon rashers side by side vertically as needed to envelope the roast.
- Completely dust the surface of the bacon with the remaining transglutaminase.
- Carefully using scissors cut out the turkey roast from the
plastic wrap (it should be relatively firm and holding its cylindrical shape)
and place at the top center of the bacon.
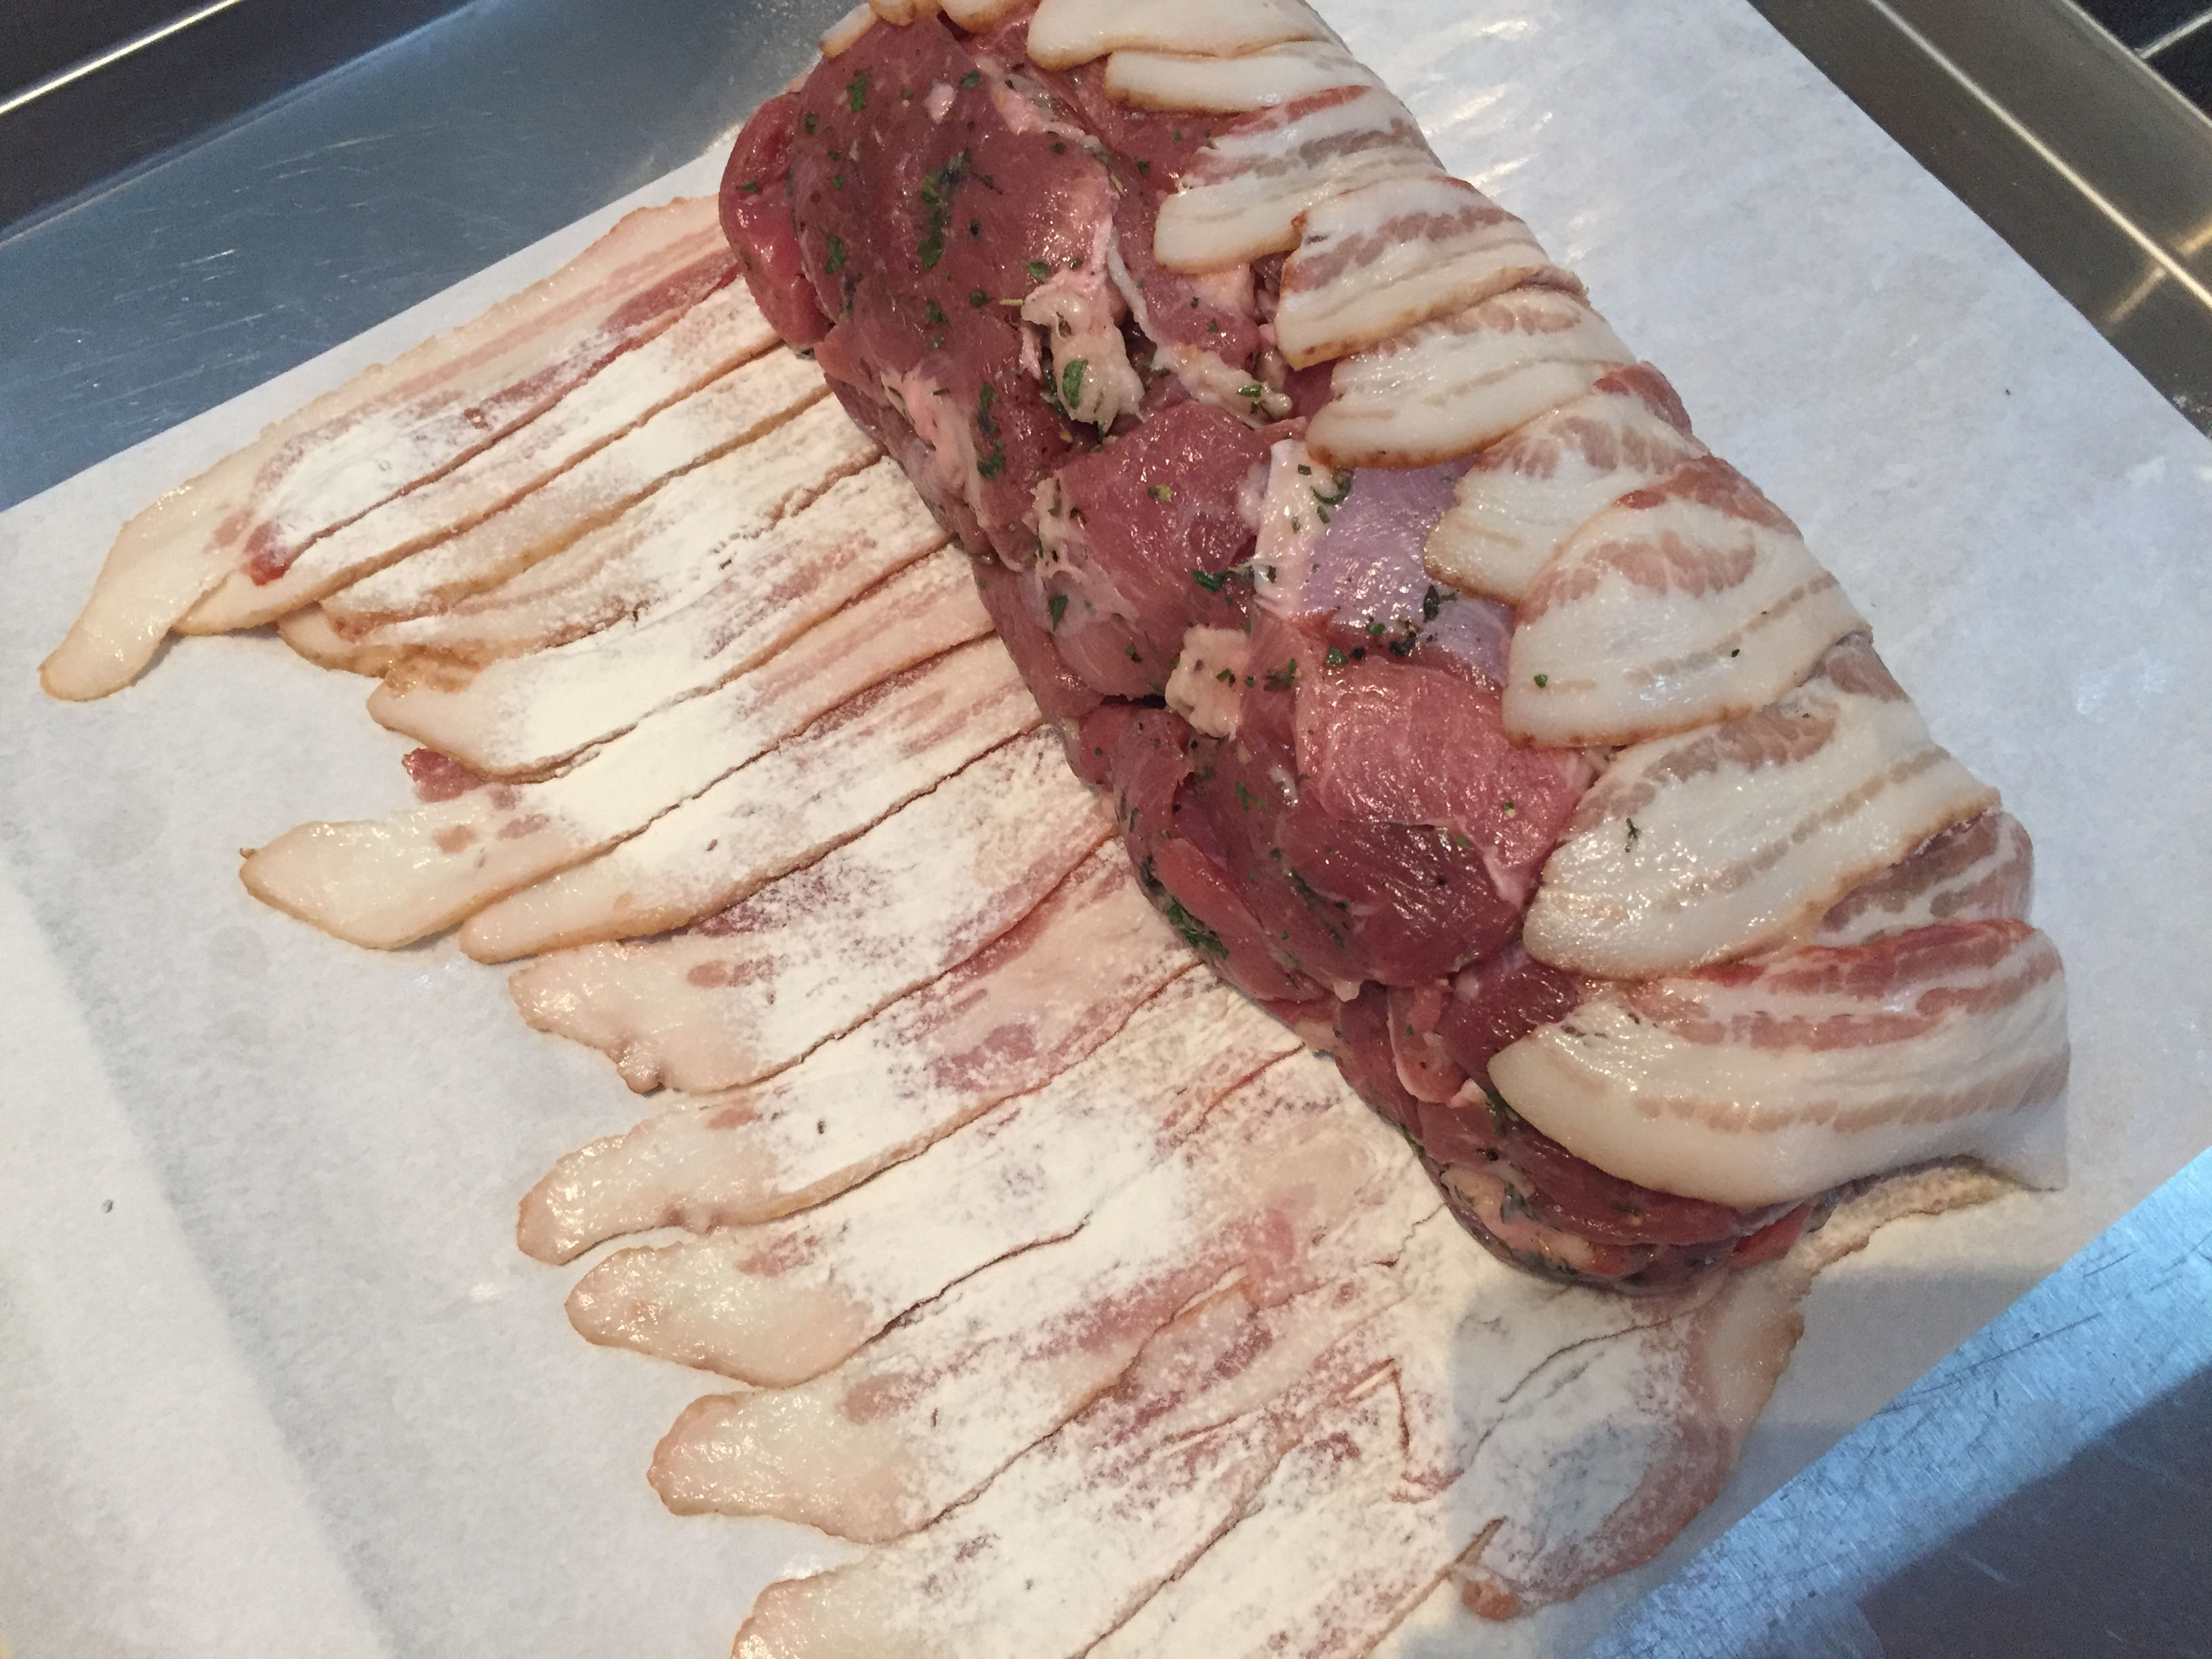
- Working from left to right at the top, bring up one of the rashers over the roast towards you and press firmly to adhere.
- Continue the remaining bacon rashers.
- Gently smooth the top layer with the palm of your hand.
- Working from the bottom, left to right, repeat the procedure but this time lifting the rashers up and away from you meeting and over lapping the top rasher.
- Repeat with remaining bacon until the roast is completely enrobed in the bacon, smoothing out any air bubbles or imperfections gently with the palm of your hand.
- Set your roll of plastic wrap on the top edge of your work surface and repeat the same procedure as earlier to completely wrap and tie the bacon wrapped roast in plastic wrap.
- Place the wrapped roast in a suitable VacMaster bag and using a VacMaster chamber or suction machine vacuum pack the roast.
- Cook for the roast for at least three hours (for a springy texture which is suitable for farmed turkey) and as many as six (for a more braised, cooked-down texture which can be more suitable for wild turkey).
- Remove from the roast from the water bath of the SV1 and carefully unwrap using scissors.
- Pat the roast dry with a clean towel.
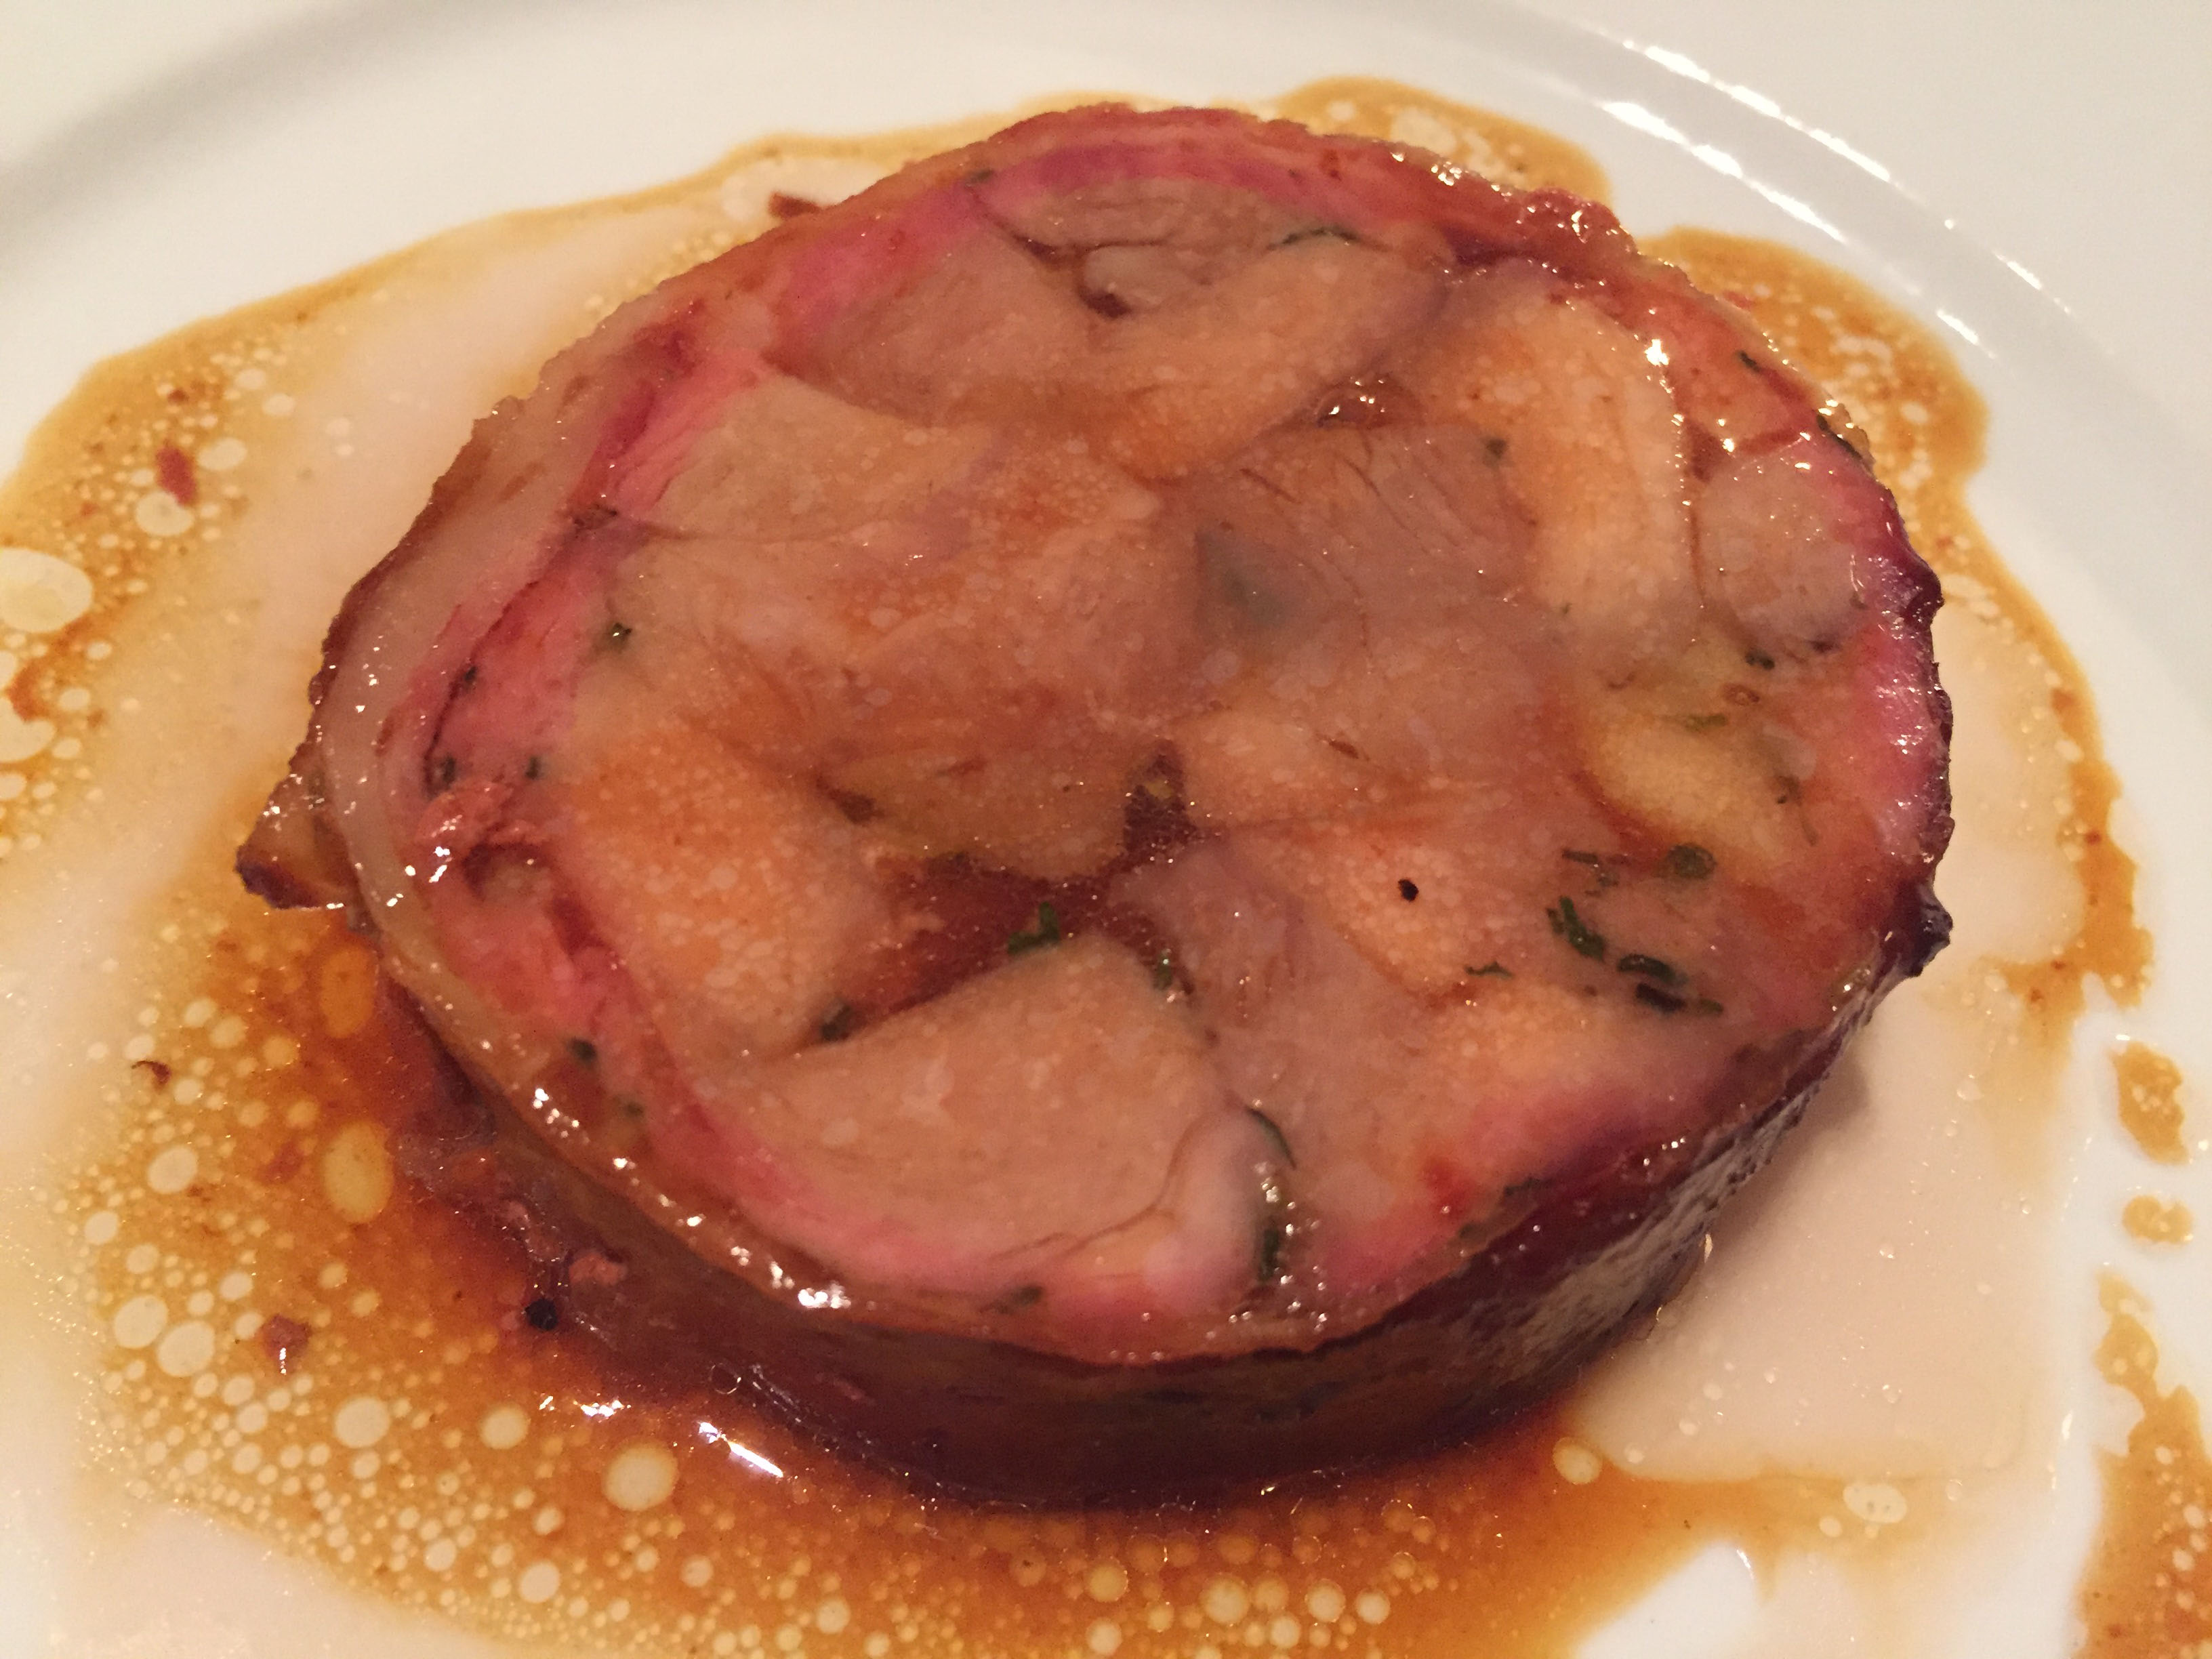
- Heat about an inch of mild flavored oil in a large heavy bottomed cast iron skillet or similar and brown the roast by rotating until golden brown on all sides.
- Let the roast sit for a few minutes then slice and serve.