Whole Turkey Cooked Sous Vide
Native to North America the wild turkey unlike its domesticated counterpart can fly as well as run up to 20 miles an hour. In fact Benjamin Franklin lobbied for the native fowl to take its perch as the national symbol of our fledging country rather than the bald eagle.
With the holidays upon us I find it fascinating even now the history of the Thanksgiving turkey is still a bit of a mystery. Nobody truly knows exactly how this holiday icon earned a place of honor at the table each November, but the culinary eggheads have a few different theories.
We do know that the first Thanksgiving dinner menu with the Wampanoag Indians included beef and fowl thanks to letters and records kept by early American settlers.
That being said there is no definitive proof as to which types of fowl were served up that day. There is a reference to a turkey hunting trip in the pilgrim’s records so it's a bit of a leap to think they were successful - albeit a tasty one!
Whether you bag a wild bird or pickup up a domesticated version, Sous Vide is the perfect technique to prepare this iconic dish. Not only will you get a moist delicious bird but you can prepare this often time consuming recipe days in advance giving you more time with your family!
By the way here is a little bit of turkey trivia you can use to entertain your family this Thanksgiving. You know that long, loose skin that hangs down on a turkey's neck? It's called a “wattle" - your welcome!
Yield: 1 Whole Turkey
Ingredients:
• 1 whole Turkey, thawed
• 10 cups Apple Cider Brine, see recipe
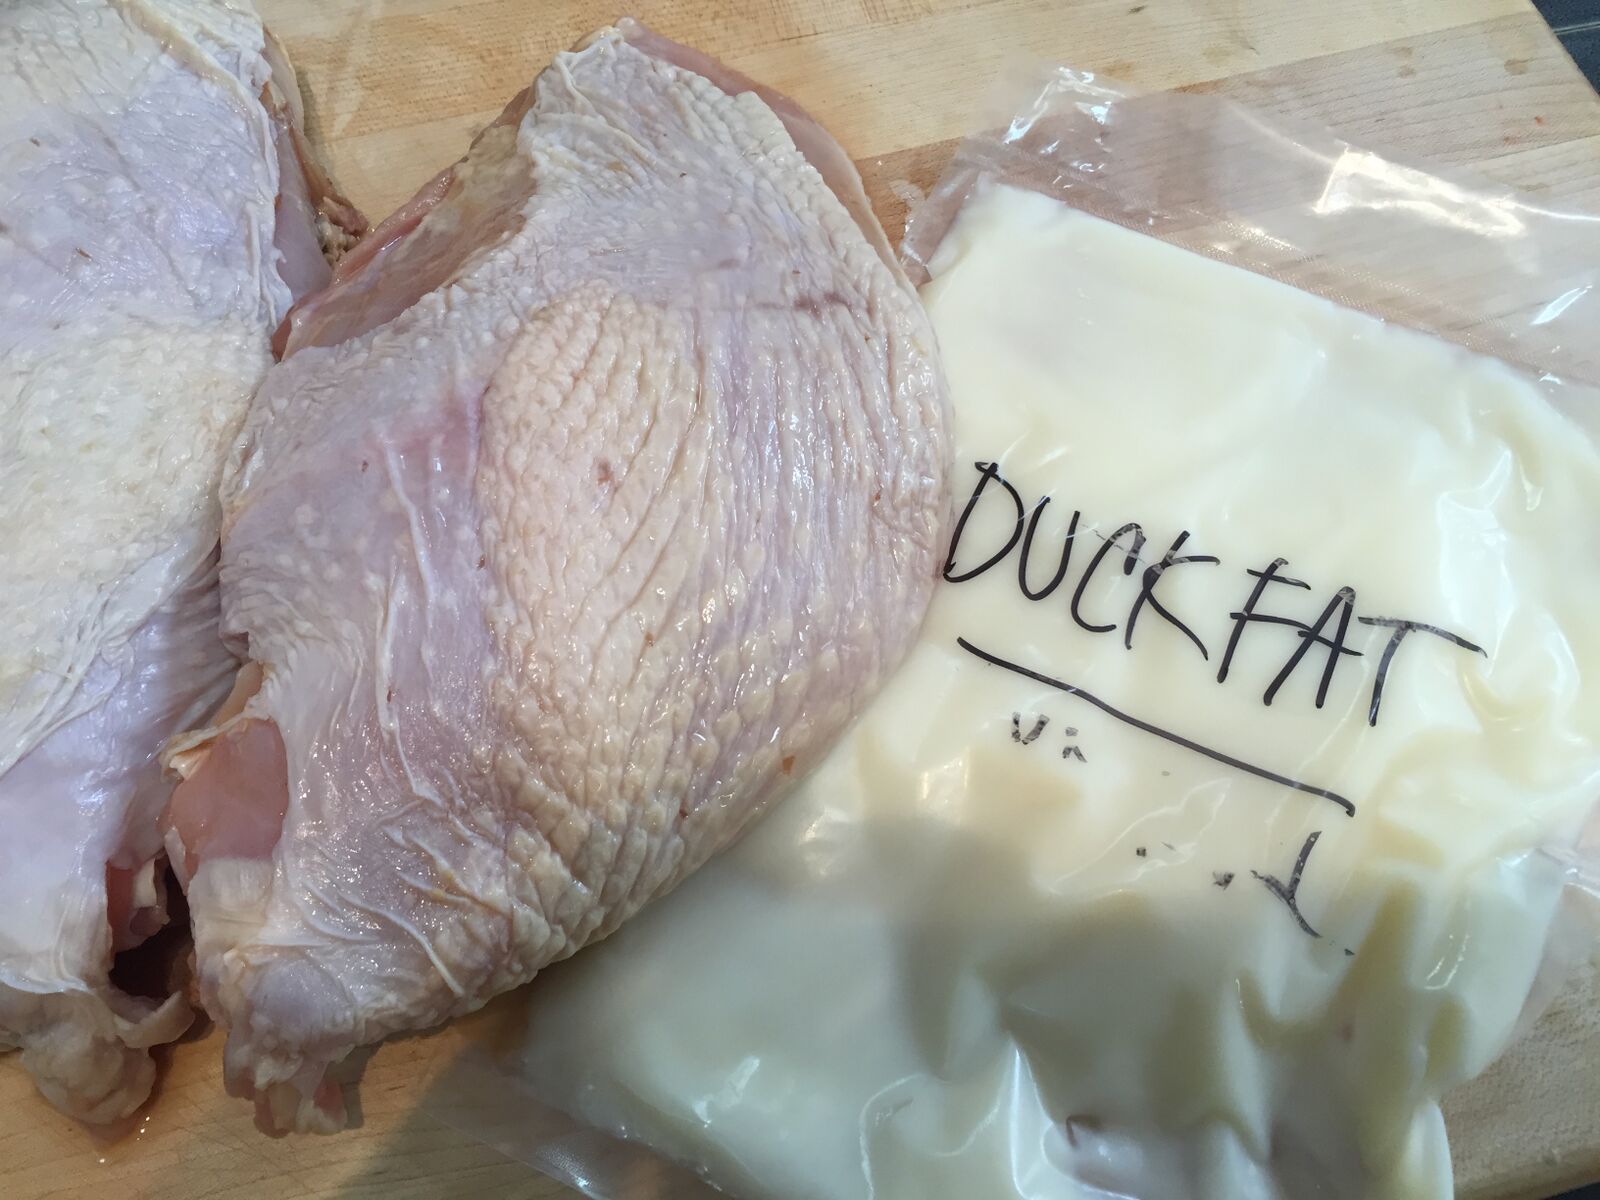
• 1.25 cups duck fat, or similar
• 2 cups Apple Maple Rub (see recipe)
Directions:
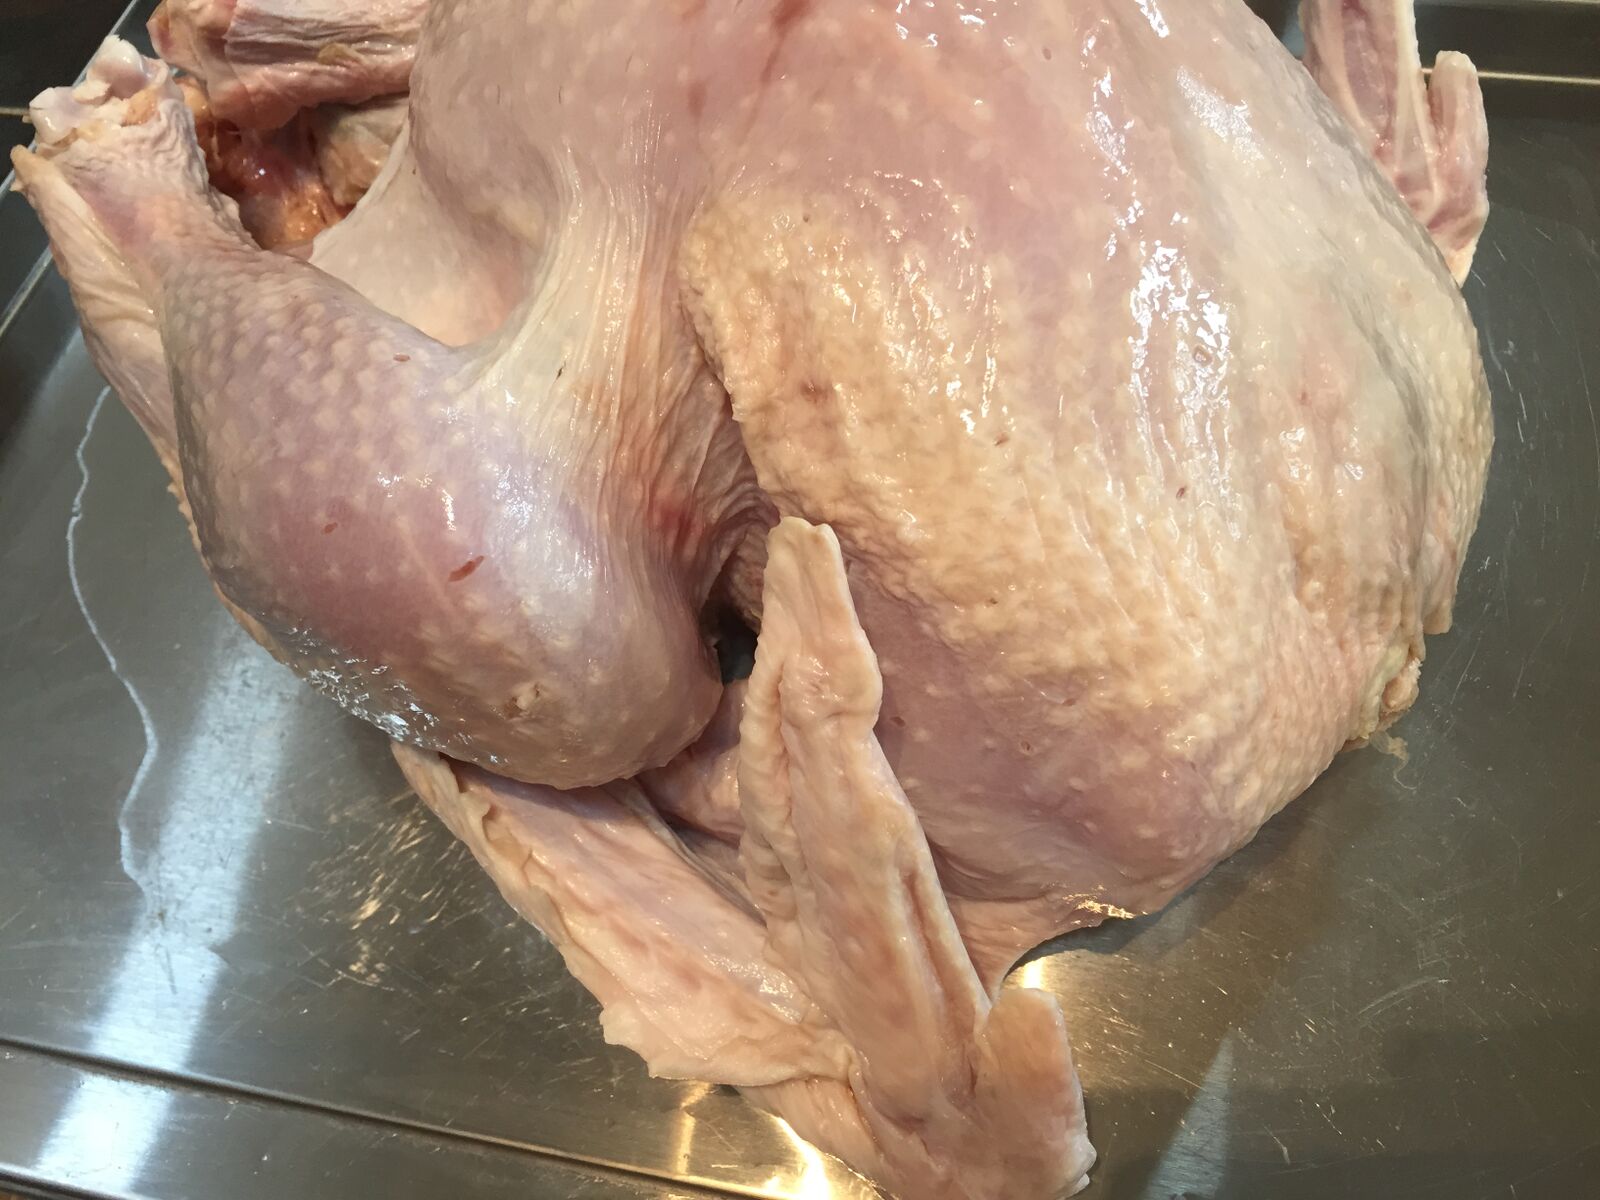
1. Remove the Turkey from its packaging and rinse thoroughly and dry well. Remove
the neck from the interior of the body and any other giblets and reserve for
stock (see recipe) if making.
2. This butchery method will result in two legs and thighs, two full wings, and
two breasts.
3. Lay the turkey, breast-side up, on a clean cutting board. Locate the natural
seam where the thigh separates from the body cavity and make a slit - do this
on both sides of the bird.
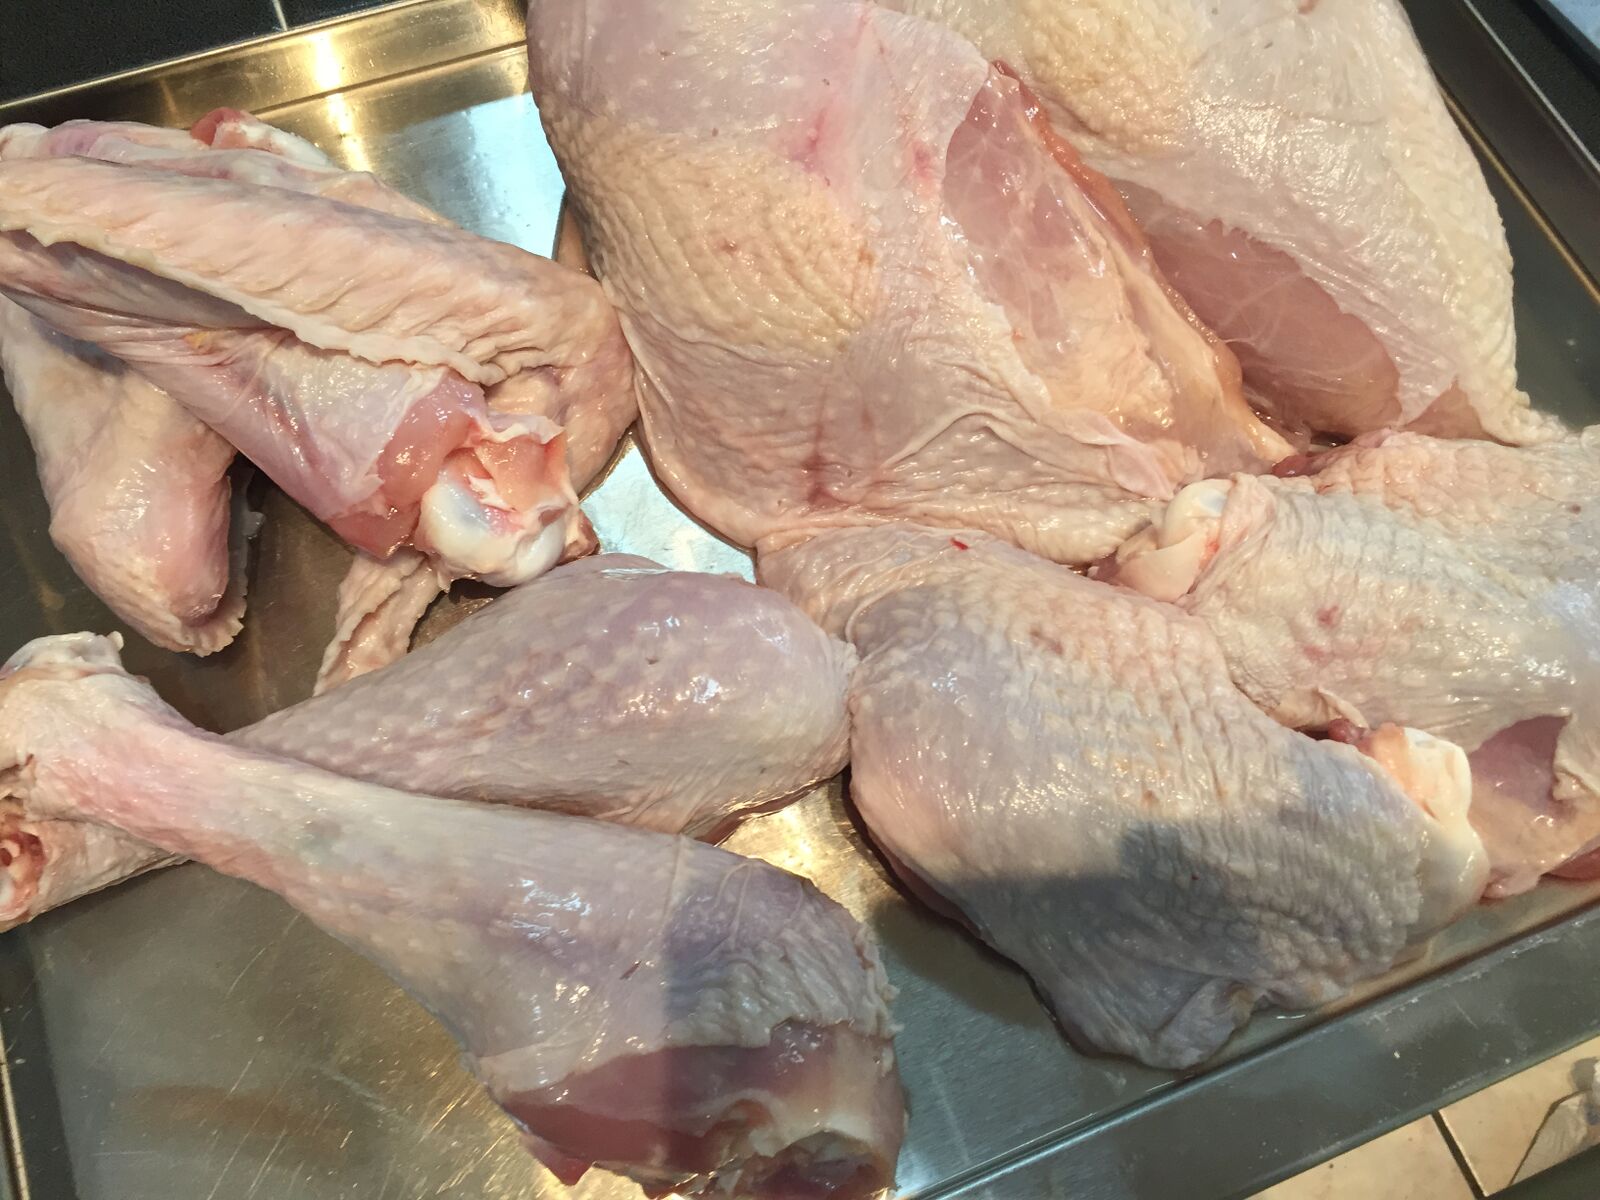
4. Reach underneath the thigh and pop the joint where the thigh meets the body.
Flip the turkey over and cut through that joint, being sure to angle your knife
towards the body cavity, and scoop underneath so that you get the turkey
"oyster" (a rather good sized nugget of tender turkey meat hidden on
the back of the bird). Repeat this on the other side.
5. There is a natural seam of fat the runs in between the leg and the thigh bone —
it’s thin, so look closely. Run your knife along that line of fat and down
through the joint to separate the leg from the thigh.
6. With the turkey still laying breast-side down, locate the joint where the wing
meets the body cavity, and pop the joint, just like you did with the thigh
bone. Cut through to release the wing. Repeat this on the other side.
7. Flip the turkey back over and run your finger along the center of the breast —
you will feel a line of collagen separating the breast into two halves. Run
your knife along either side of this collagen, keeping the knife as close to it
as possible, and peel the breast back, sliding your knife underneath it and
along the body cavity as you go, until the breast is free. Repeat this on the
other side.
8. Now that all of the turkey pieces are portioned, clean up each piece of extra
skin and/or fat and reserve for rendering or discard.
9. Reserve the carcass aside along with the neck and the giblets for optional
stock.
10. In a large bowl or storage container cover the turkey pieces with the Apple
Cider Brine, cover and refrigerate for 12 hours.
11. Remove the turkey from the brine and blot dry with paper towels - reserve.
12. Divide the rendered animal fat among five appropriate sized large vacuum bags (one for each breast, one for both
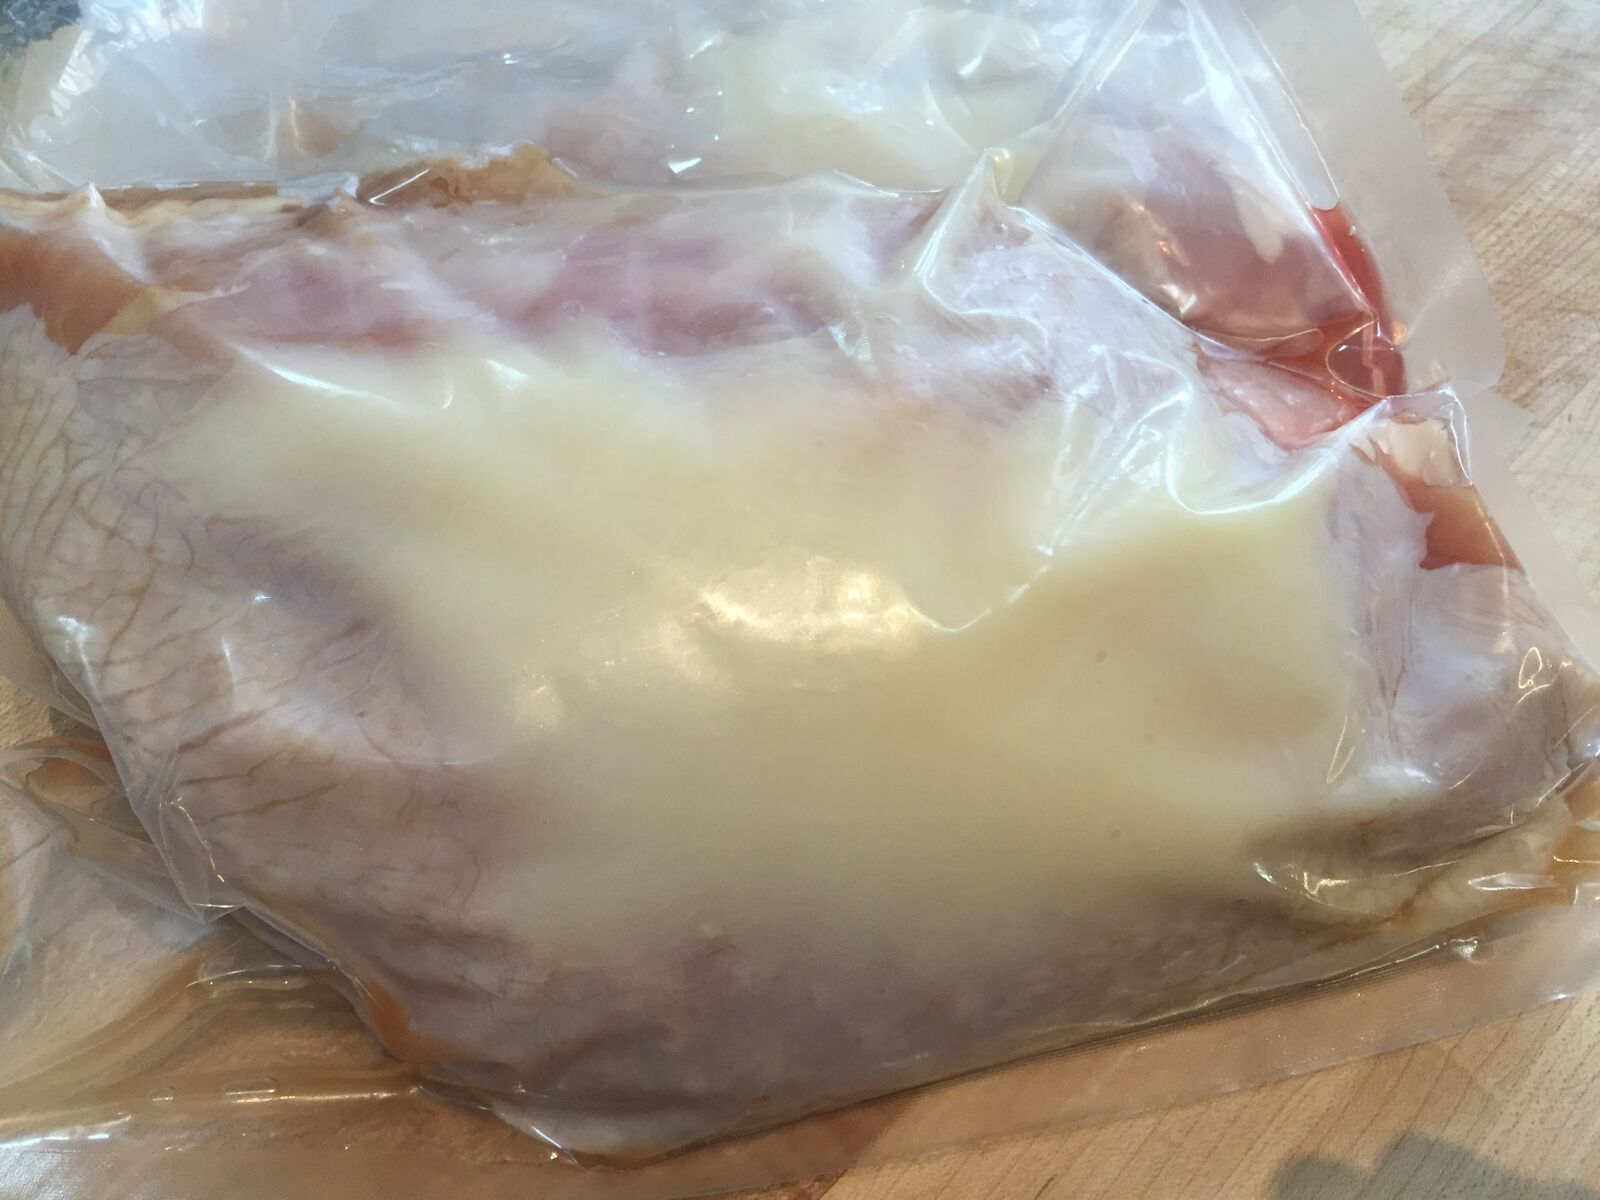
thighs. one for both legs and one for both
wings).
13. Place the Turkey pieces in their respective bags with the fat and vacuum seal
using a VacMaster® suction or chamber machine.
14. Preheat the SV1 to 67°C/152°F. Add the Turkey legs, thighs and wings and cook
for 4 hours. If you’re not serving the Turkey immediately, remove the bag
and chill thoroughly in an ice bath. Refrigerate until ready to serve.
15. After 1 hour add the Turkey breasts and cook for 3 hours. If you’re not serving the turkey immediately, remove the bag and chill thoroughly in an ice bath. Refrigerate until ready to serve.
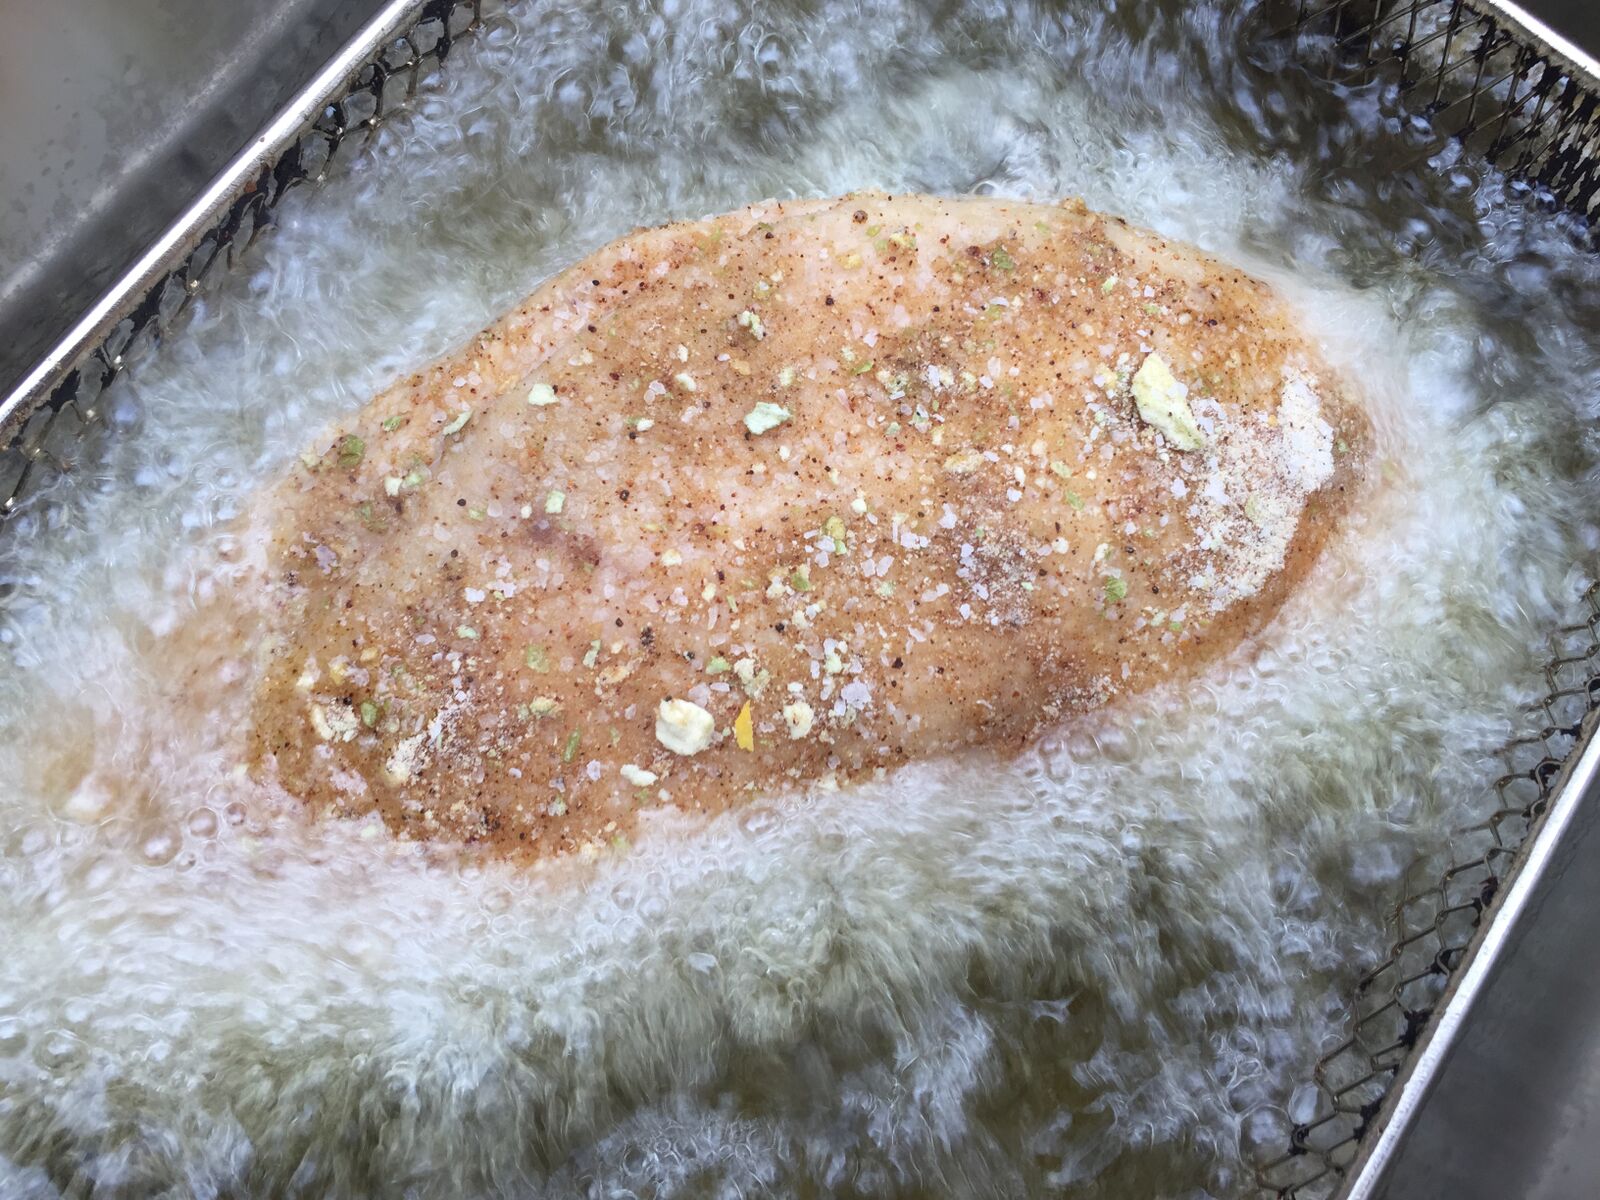
16. Using a deep fryer or large high sided heavy bottomed casserole, heat enough
vegetable oil to submerge the turkey pieces to 375°F leaving plenty of head
room for safety.
17. Remove the turkey from the vacuum bags and blot dry with a paper towel.
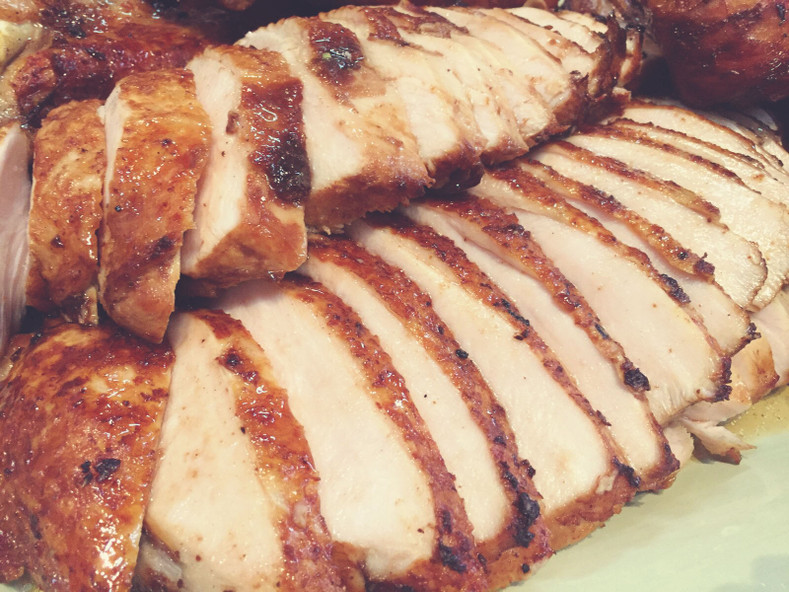
18. Dust the Turkey pieces with the Apple Maple rub.
19. Working one or two pieces at a time (depending on the size of your fryer set
up), fry the legs. thighs and wings for about 1-2 minutes each or until golden
brown. Follow with the breasts again for about 1 minute or until the skin is
golden brown.
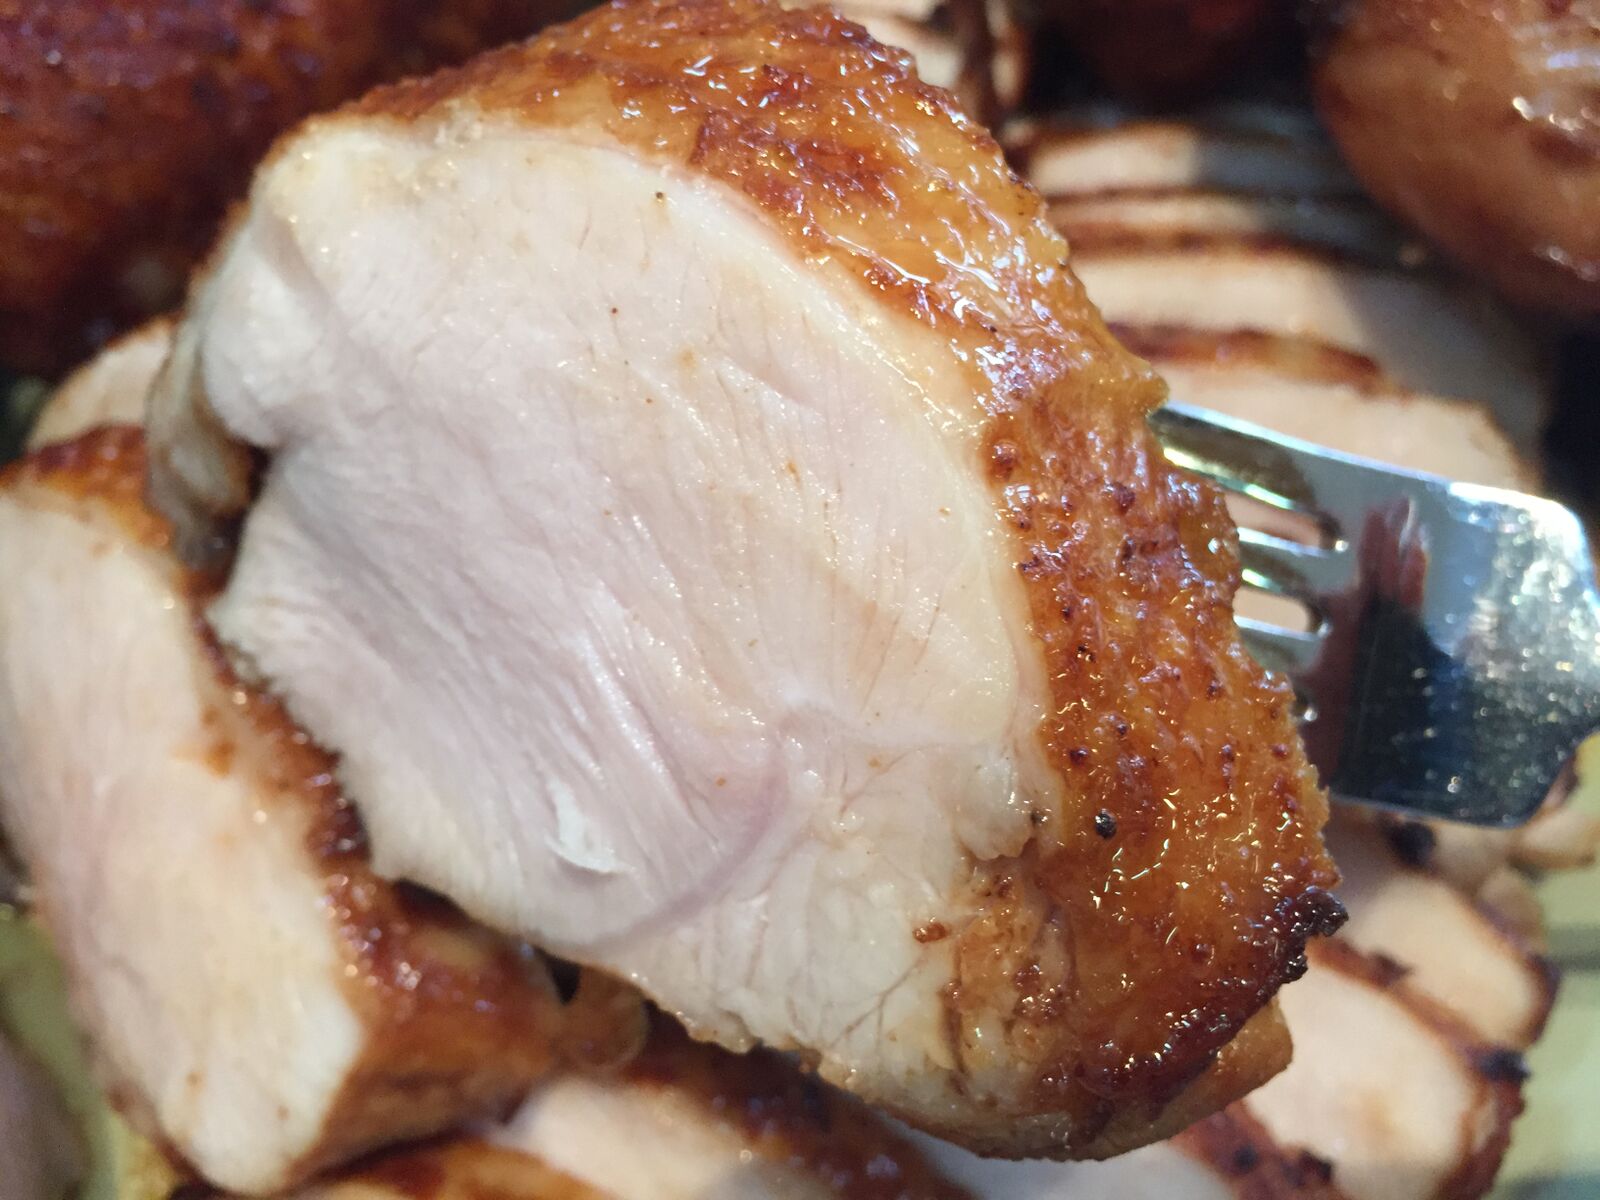
20. Drain the turkey on cooling racks and when cool enough to handle but still
warm, slice as desired and serve immediately.
Apple Cider Brine
Ingredients:
• 10 cups apple cider
• 1/2 cup kosher salt, fine grind
• 3 tablespoons hot pepper sauce
• 1/2 cup brown sugar
• 6 whole bay leaves, fresh
Directions:
In
a suitable large bowl mix the salt, sugar and hot sauce with the cider stirring constantly until
the salt and sugar are completely dissolved. Use as needed.
Apple
Maple Rub
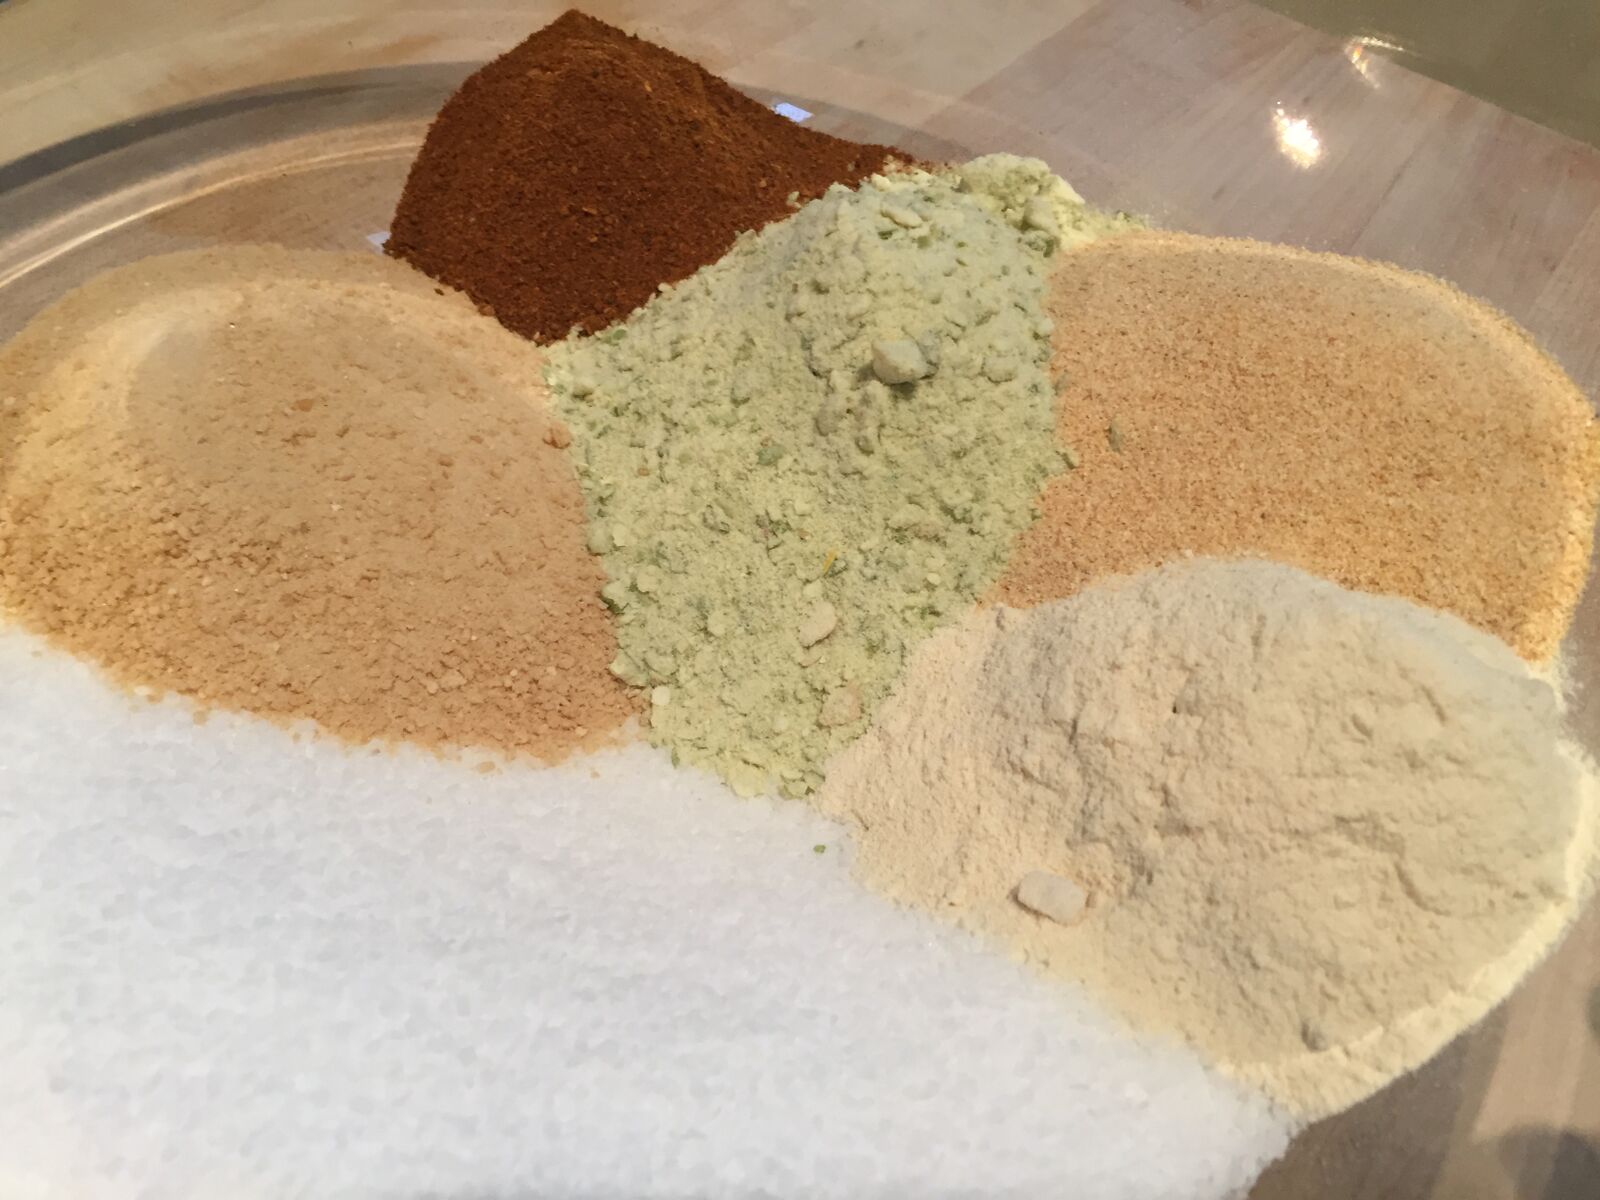
Ingredients:
• 1/2 cup sea salt
• 1/4 cup maple sugar
• 1 cup apple powder
• 2 tablespoons onion flakes
• 2 tablespoons roasted garlic granules
• 1 tablespoon ancho chili powder
• 1 tablespoon black pepper
Directions:
Combine all the ingredients in a mixing bowl and blend well, use as needed.